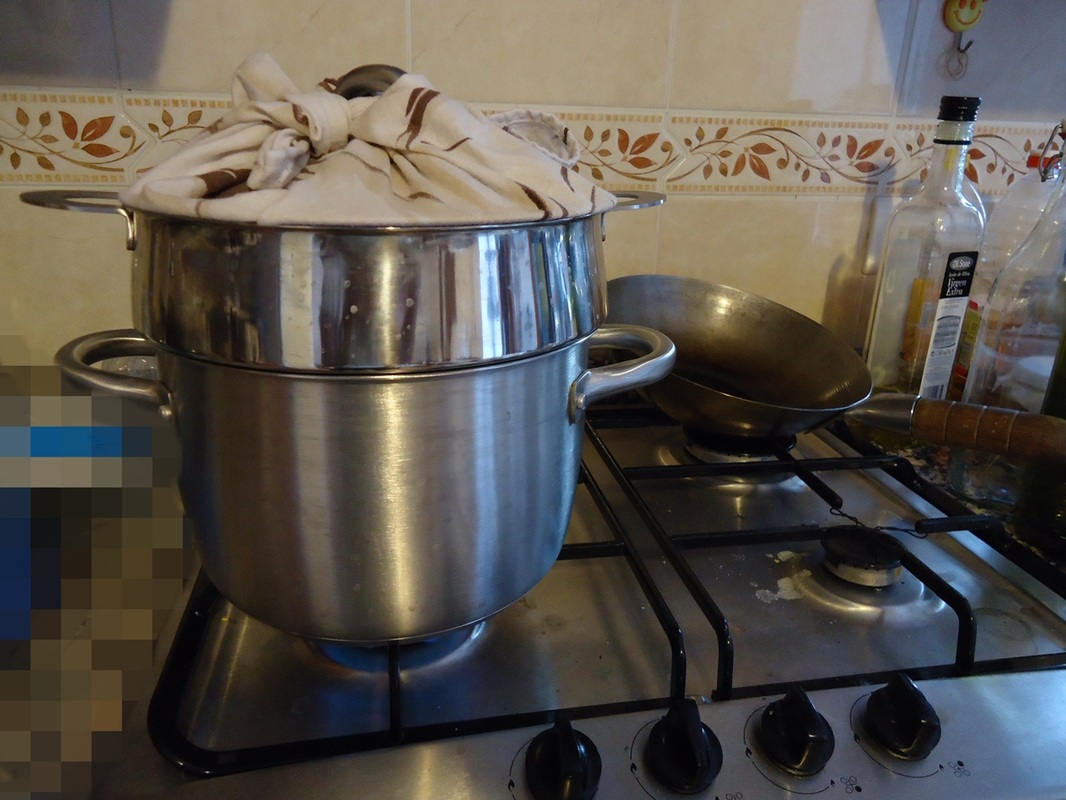
Ini yg kedua kalinya aku ngukus kue selama aku di sini, uda lolos tahap percobaan tempo hari... orang2 dan keluarga Italy pada tercengang cengang ngeliat hasilnya,... kata mereka : kok bisa sih bikin torta pake scola pasta..??!!! hahahahah.... backward bgt deh nih orang2...
Ibu mertua ku aja awal2nya ngetawain, pas aku bilang hari ini bikin kue pake kukusan...
Jadilah ku persembahkan : Brownies kukus!!!
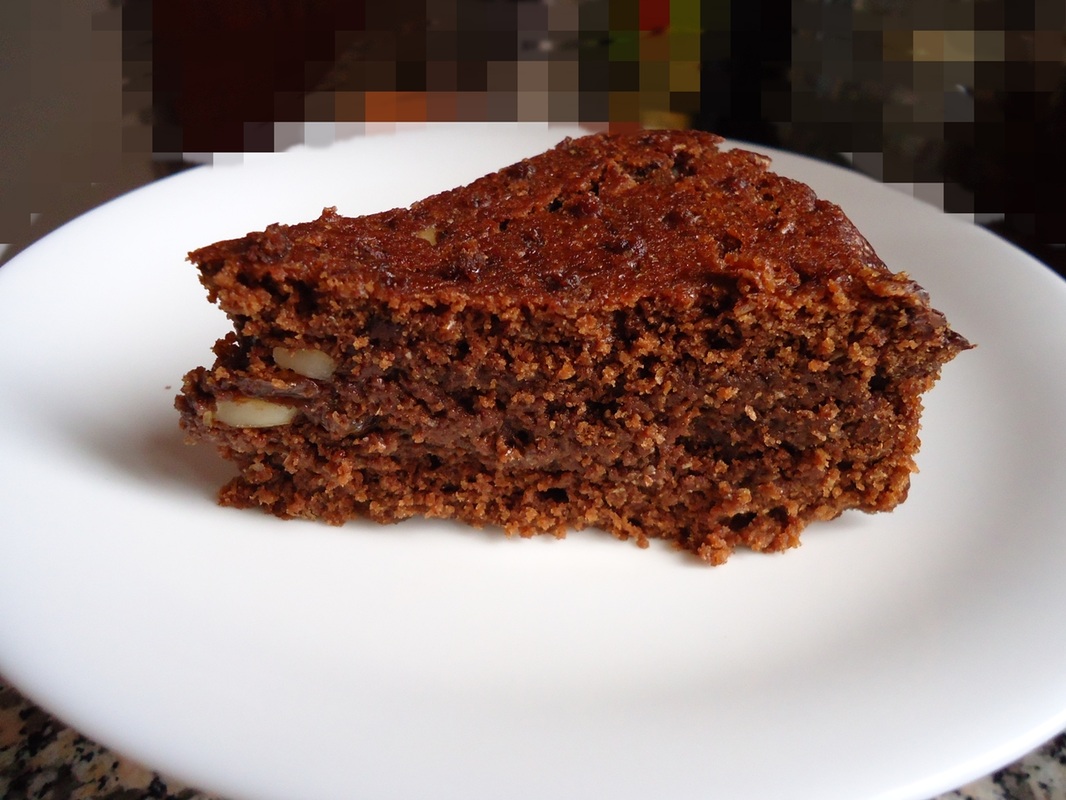 ini yg motong uda keburu laper mata ...pengen disantap aja,, makanya potongannya ga aduhai ^^ Resep yg kupake, resep cemplang cemplung jadi.... hehehe... aku pake Levadura fresca / Lievito di birra.. ga tau nama Indo nya apa... Nah, itu dicairkan pake susu anget suam2 kuku... baru campur ke adonan.
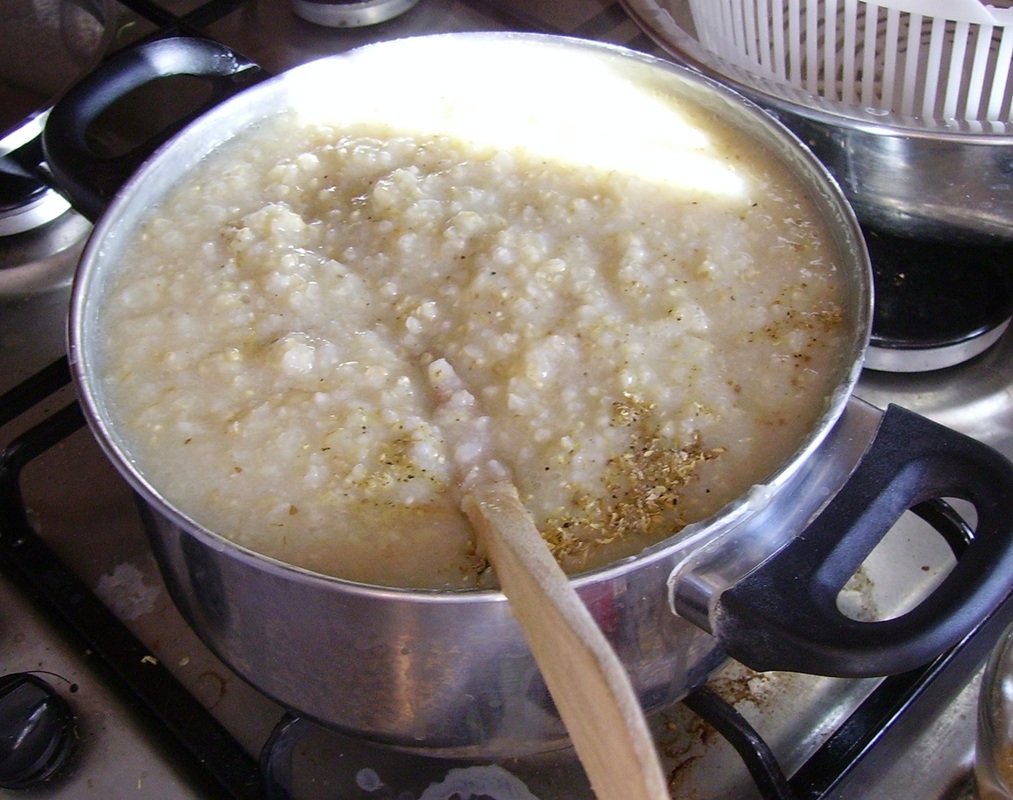
Begitu air kukusan bergolak, baru adonan kumasukin... dikukus selama 30 menit.
Resepnya kira2 begini nih... - dark coklat batangan 150gr dicairkan
- dark coklat batangan 50gr dicacah, jadi total 200gr coklat di dlm satu adonan brownies.
- nuts,... kaya almond gitu deh
- kalo pnya dry fruits jg boleh tuh dicampur.
- telor 1
- minyak goreng 15 sendok makan
- gula 3-4 sendok makan
- baking powder /bicarbonate 1 sendok teh kecil
- garam se uprit
- tepung secukupnya, main kira2 aja... kalo adonanku sampe ga netes...jadi padet... ga cair.
cara membuat :- kocok telor, minyak goreng dan gula sampe kecampur... iya, ga sampe ngembang..coz tanganku uda pegel duluan.
- masukin coklat leleh, aduk
- masukin Lievito yg uda dilelehkan pake susu, aduk
- masukin tepung dikit dikit sampe adonannya sesuai selera, jgn ke enceran...bikin susah naik.
- masukin coklat cacah, nuts,...semuanya deh
- kukus!
HAPPY -KUKUS- COOKING deh kalo gitcuuuuuuuuu
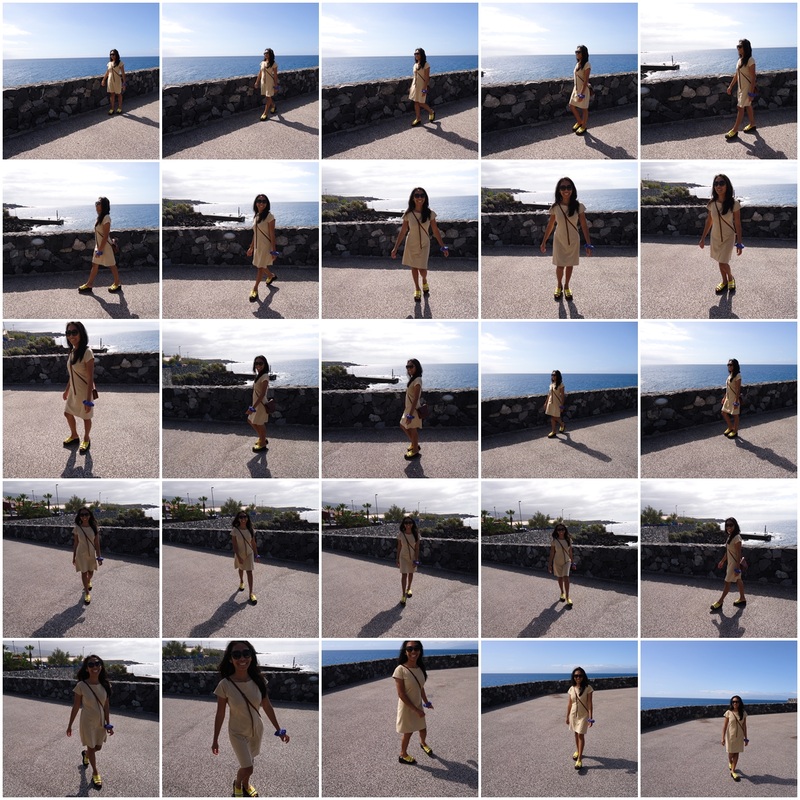
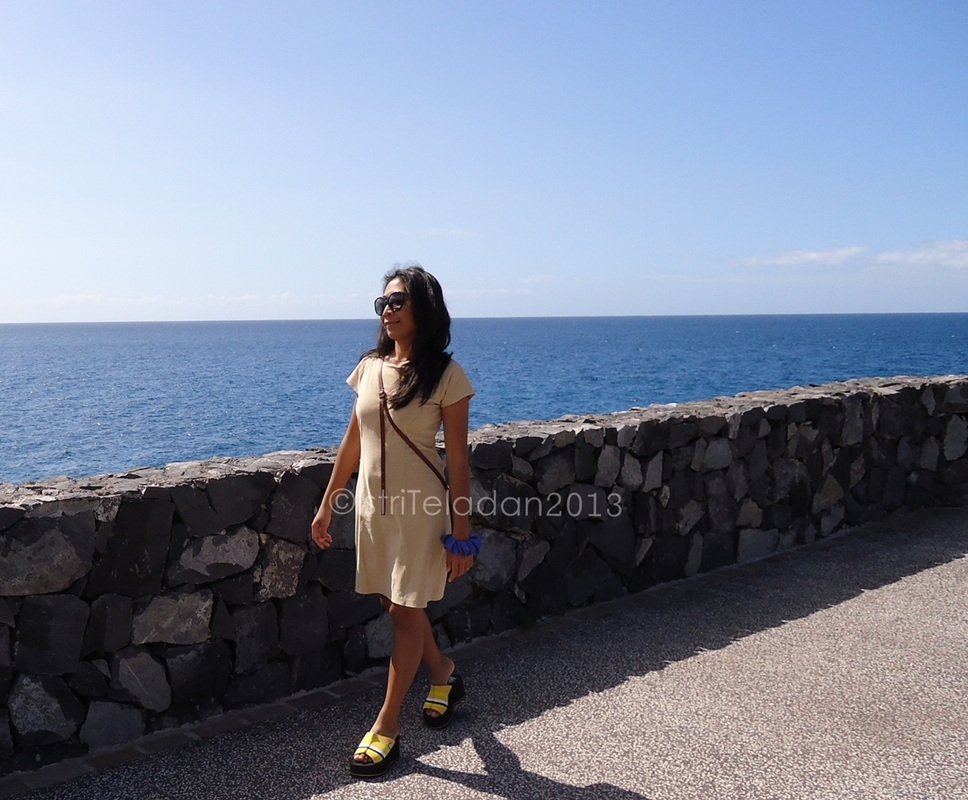
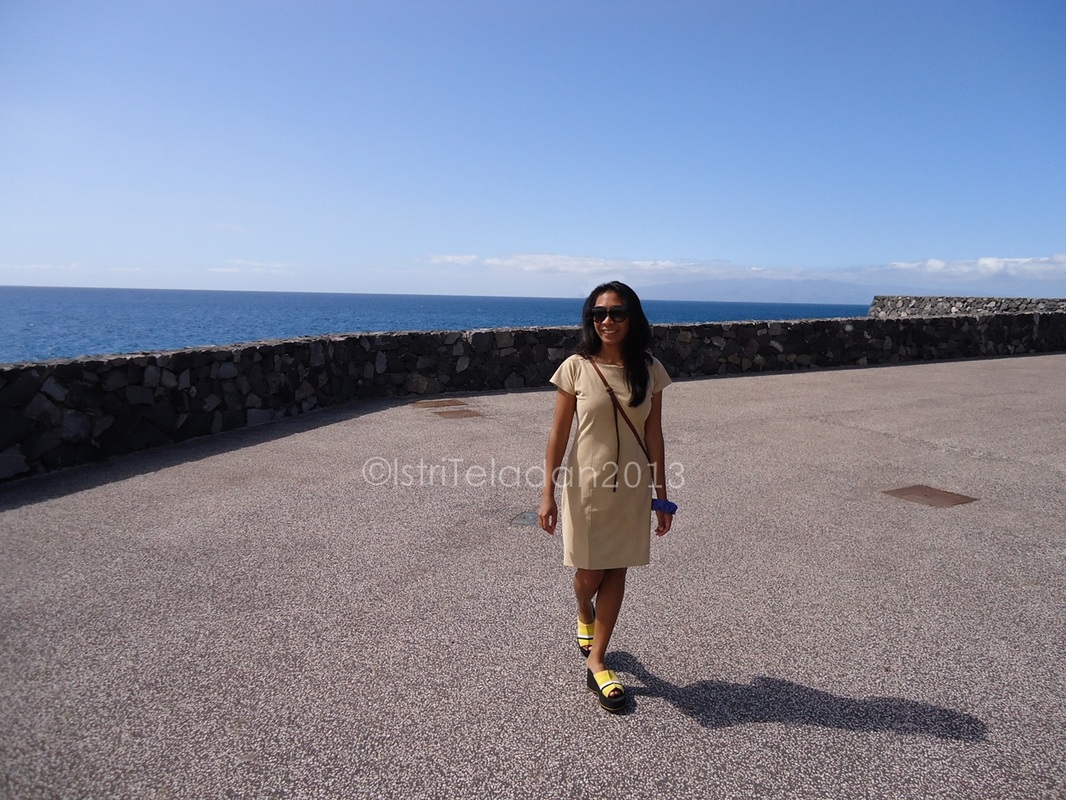
Went out in the afternoon, while the sun was still up high...
The view is beautiful there in the new Alcala seafront... A nice place to spend the afternoon ^^
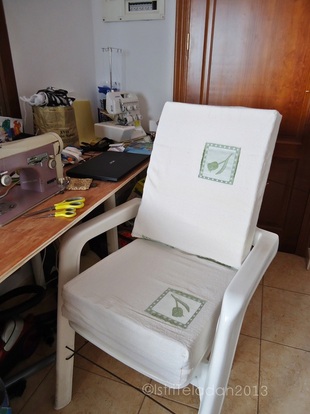
I found this sponge for cushion on the side of the street... People throw away good things these days. I am in the need of new cushion for our plasticky chair... so I'd say it's perfect.
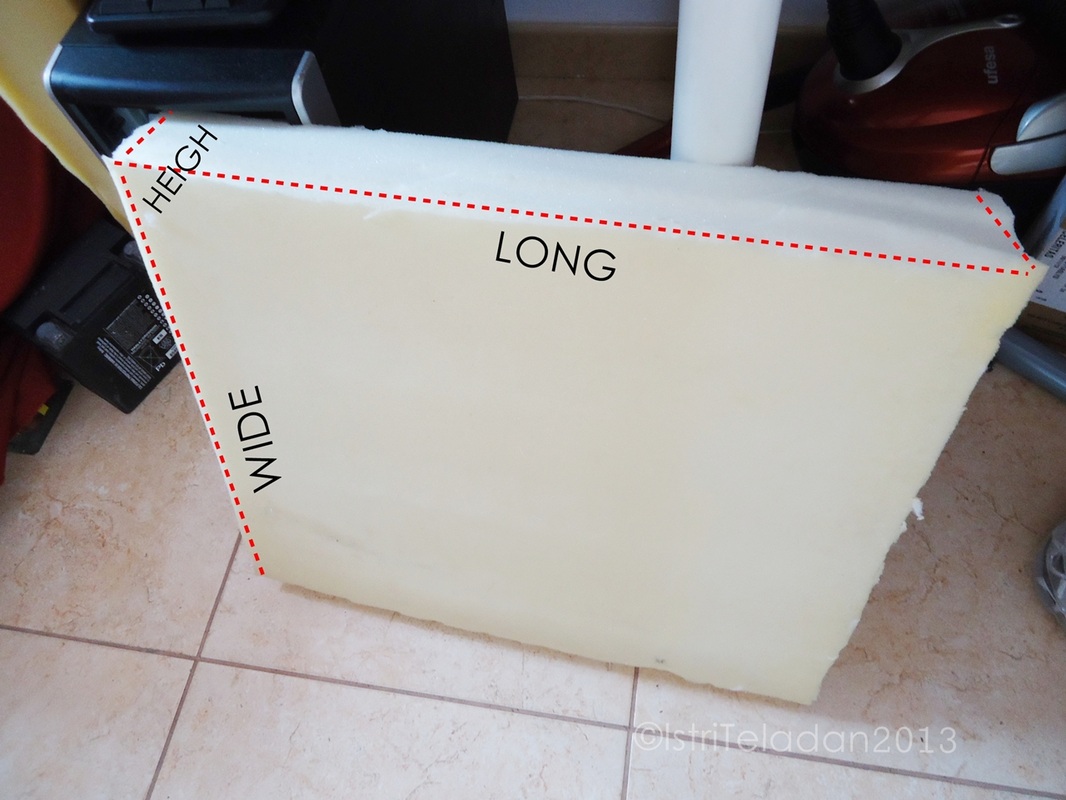
This is the tricky part. The measurement. Remember, better measure big than too small. Start to measure like photo below :
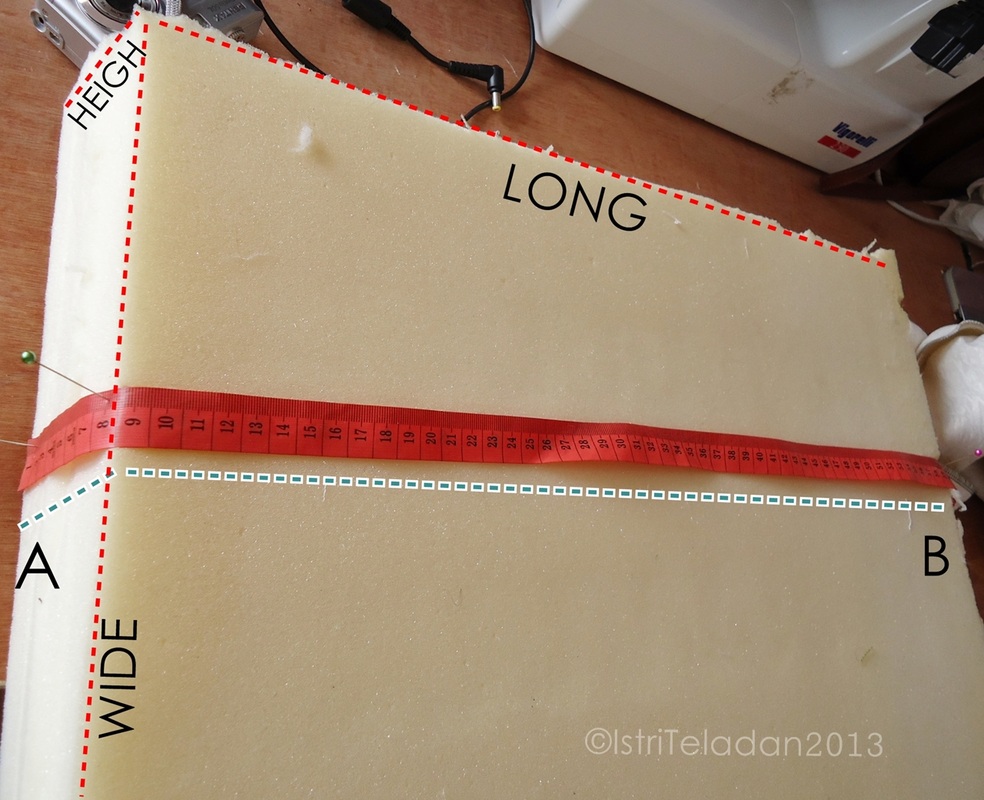
Measure from point A to B. Add 3cm seam allowance, that would be the measurement of the LONG side. Do the same for the WIDE side.
Now you got the measurement of LONG side and WIDE side, seam allowance included. Cut your fabric, based on your measurement. Sew all the way,... don't forget to leave one side open for the opening. At this point, try it ...on your cushion to check if it's fit nicely or need adjusment. Try it with wrong side out... that way it's easy to pin or mark the excess fabric, if that's the case.
After everything fit... you can double the stitch for reinforcement.
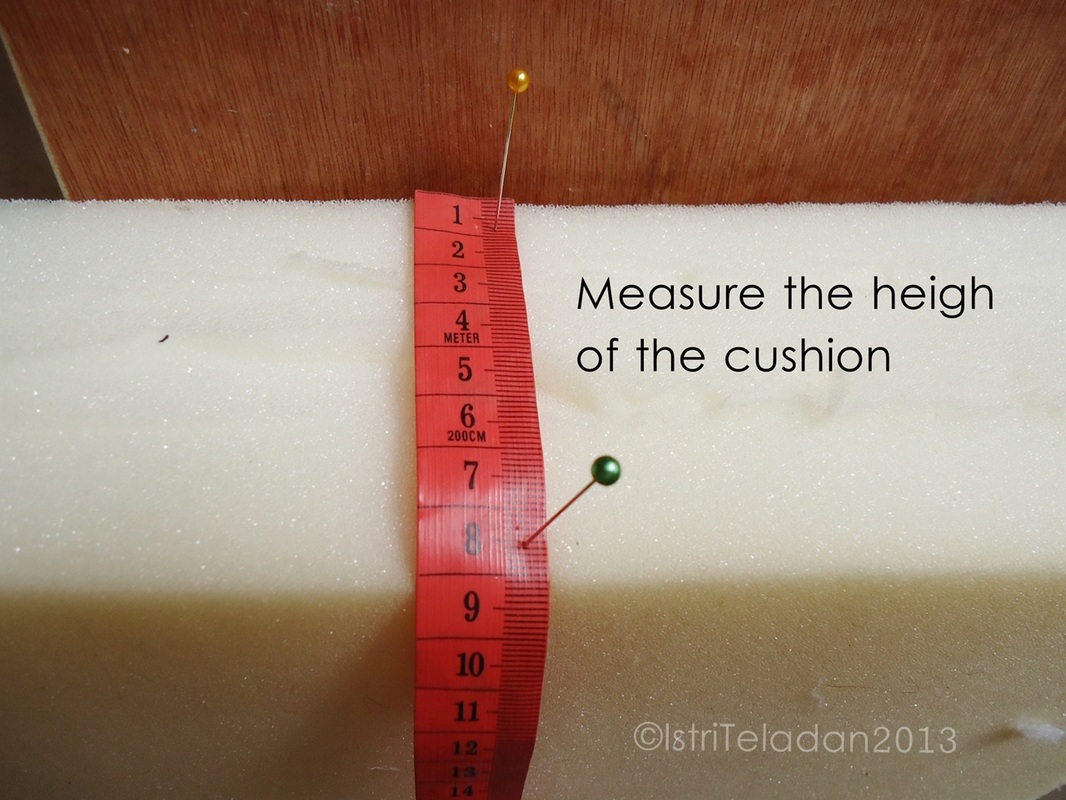
Now measure the HEIGH individually, in my case is 8cm.
Find both corner of your cushion cover. Folded like in the photo below...
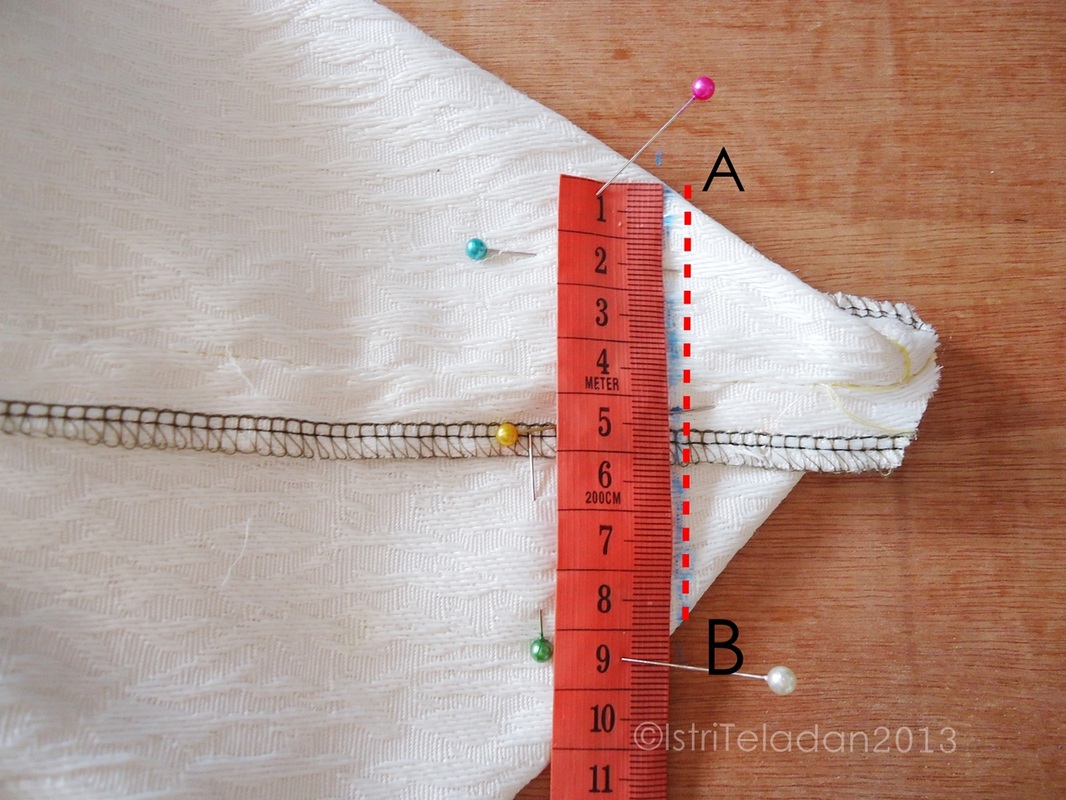
Mark 8 cm, and stitch there... from point A to B. Cut out the excess corner..
And .... you are finish!!
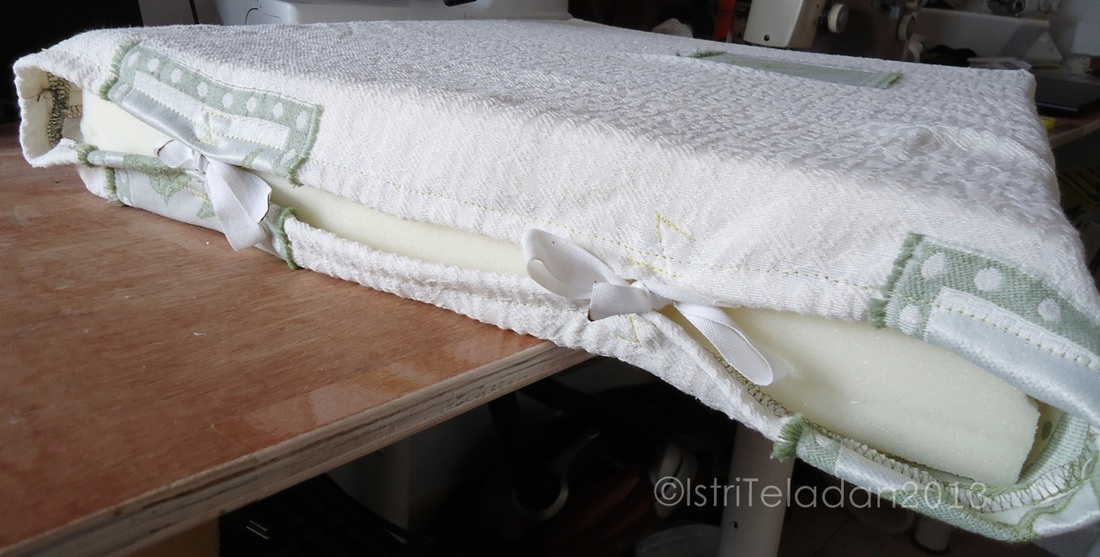
This is the opening of my cushion cover, closed with ribbon.
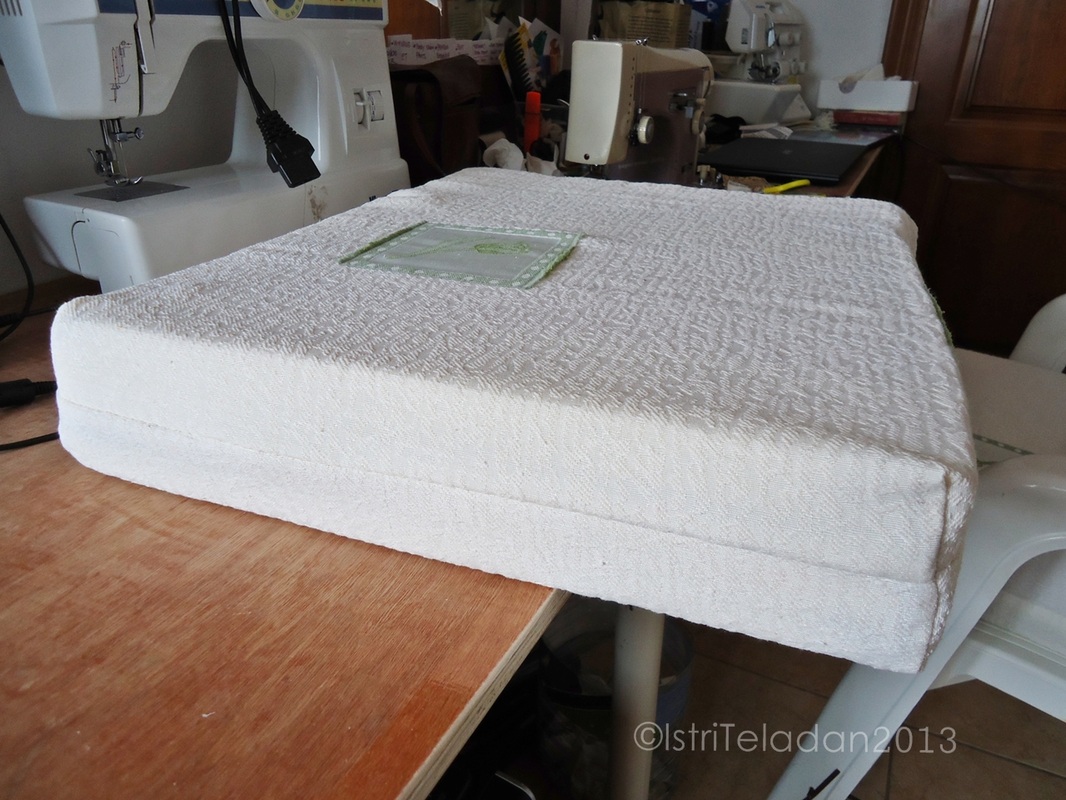
Fit nicely! Ready to sit on...
Congratulation,... you have just spicen up your old cushion. And when it gets dirty, easy remove the cover out and put it in the washing.
I made this blazer actually quite long time ago . That time, I thought such reversible blazer would do many tricks... oh well, I thought wrong! In the end, the best way to wear this blazer is by wearing it in a normal way. I shortened the sleeves, I replace the inner material with normal lining... and I leave it open like that without putting buttons until I'm in the mood to do it.While the whole outfit made such a nice combination... I made the dress also longggggg agoooooooooooooooo...
Buat yg expert di dapur, bikin rengginang itu seperti halnya ordinary administration, .. but for me it's a hell of a big deal until today ^^.
Proses pembuatannya ga pake susah, ga pake resep.. cukup beras ketan atau glutinous rice yg dijual di toko cina dan panas utk menjemur. In my case,... aku ada sinar matahari jadi aku jemur2 di teras rumah biar cepet kering gitcuuu...
Recipee shortcut, here's how I made Rengginang : - Beras ketan aku rendam semaleman, 6 jam juga bisa cuma aku males nungguin, so..malemnya direndem...paginya bisa diolah.
- Garlic, lot's of them biar gurriiihhhhhhhh
- Sebagian orang pake terasi ato udang ebi kering, I skip that... males bau!
- Salt and pepper, I think...
- Beras ketan yg telah direndam, dikukus kurleb 15", campurkan bumbu, kukus lagi 30", cetak dan jemur sampe kerrriiiiinnnnggggg.
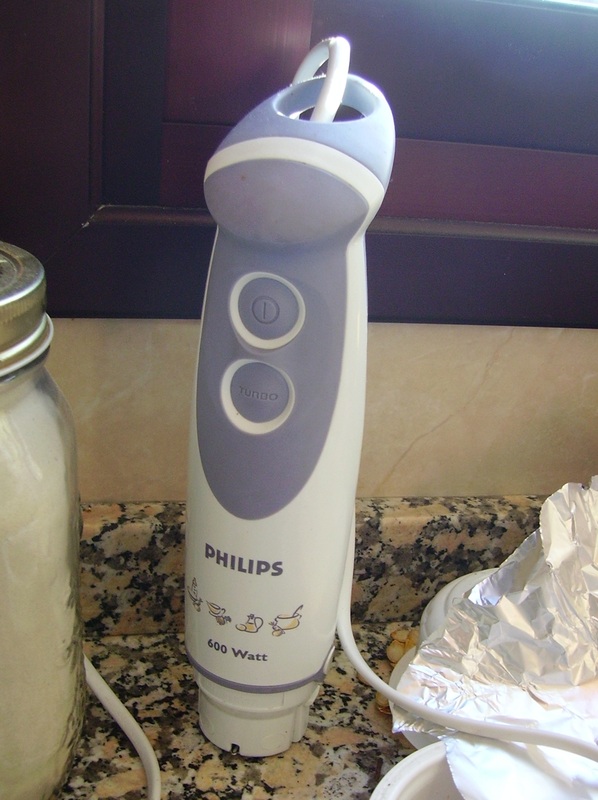
- Guess what, aku ga punya kukusan, so aku pake bagno maria pelan2... beras ketan itu cepet matengnya kalo direndem dulu...
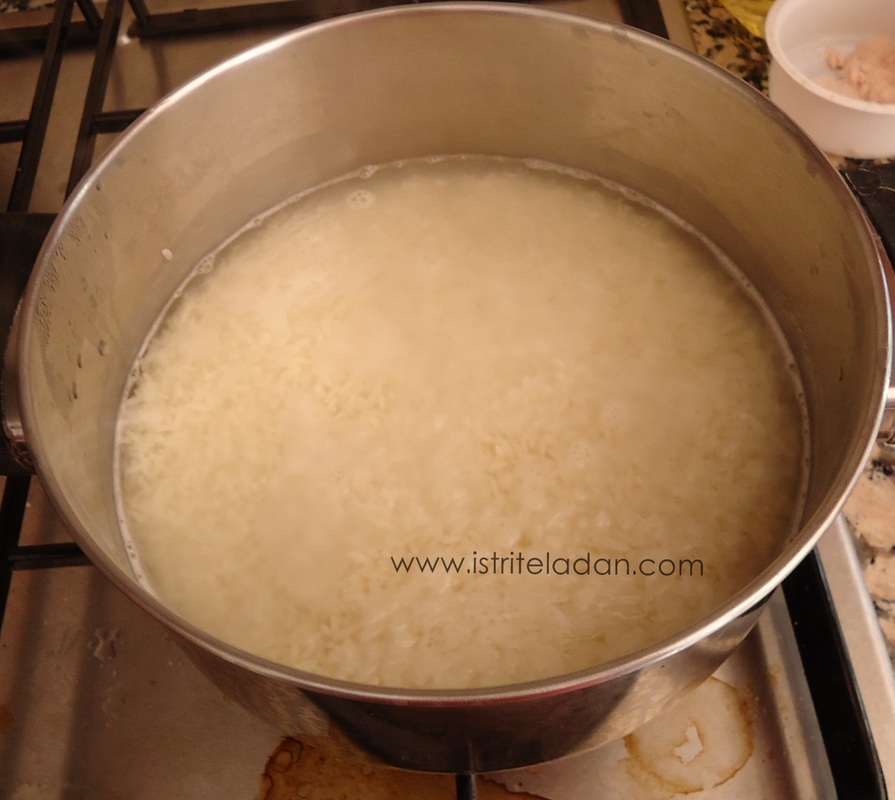
Lihat,.. lihat...beras ketan ku rendemmm
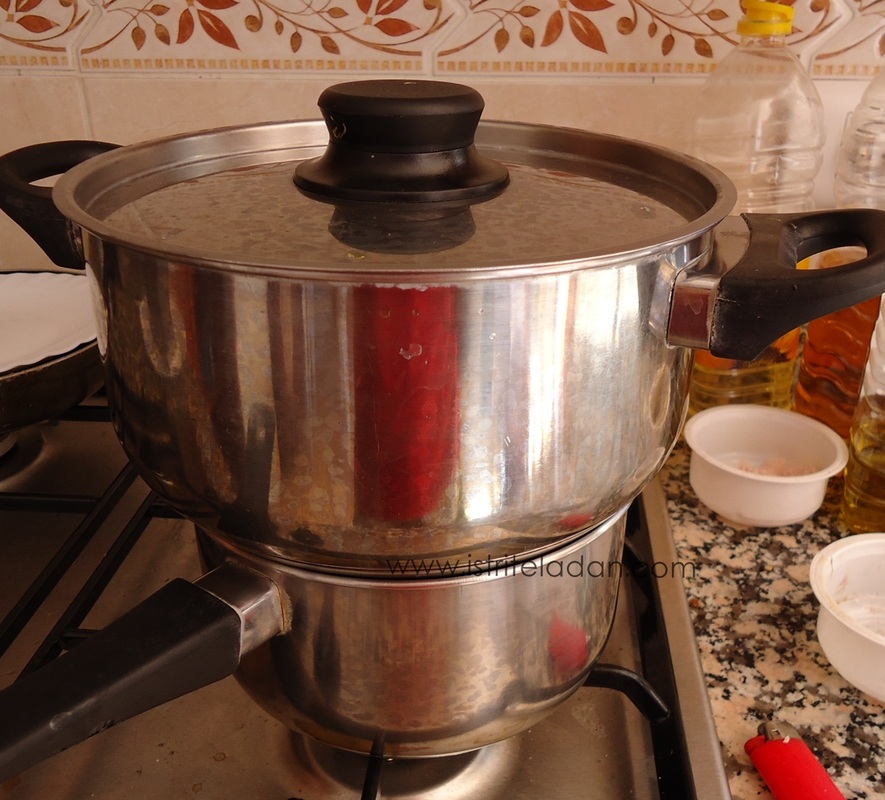
seimbang khan bagno maria ku,... yg besar diatas, yg kecil dibawah.....hehehe
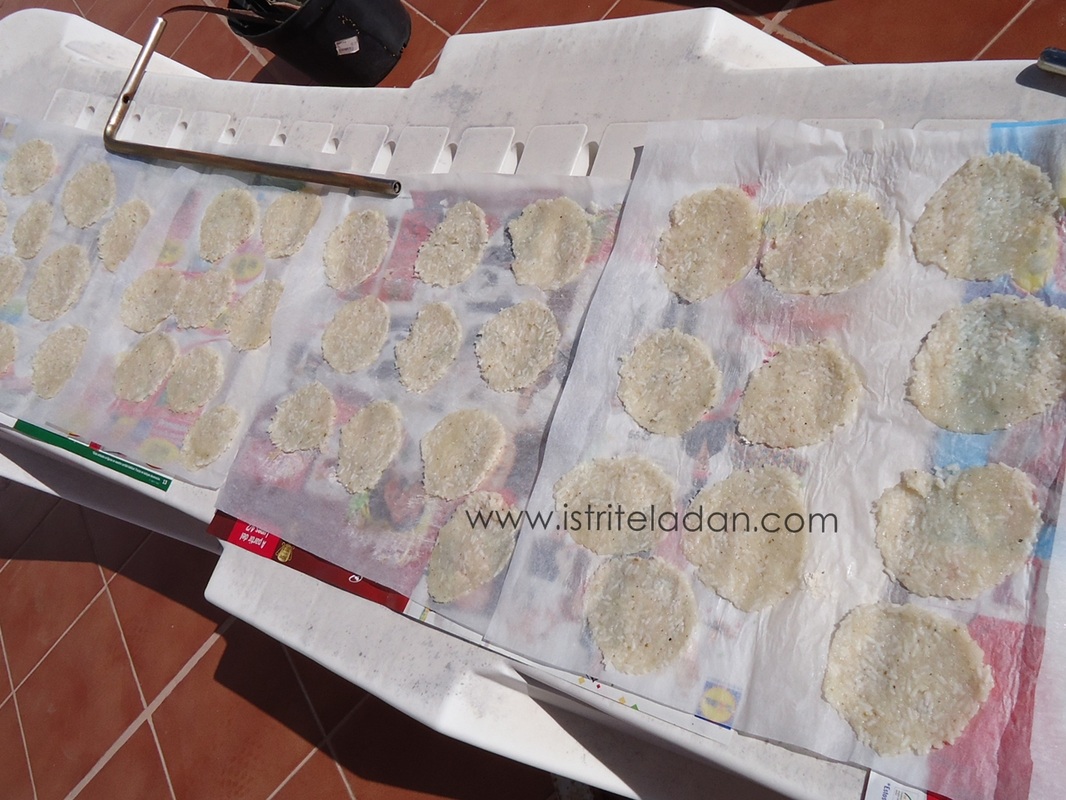
ini proses penjemuran, tanggung jawabnya Mas Gun,,,, ga pake cetakan, cuma ku penyet penyet... langsung jemurrrr
hari ke 2 penjemuran di bawah matahari, 90% kering
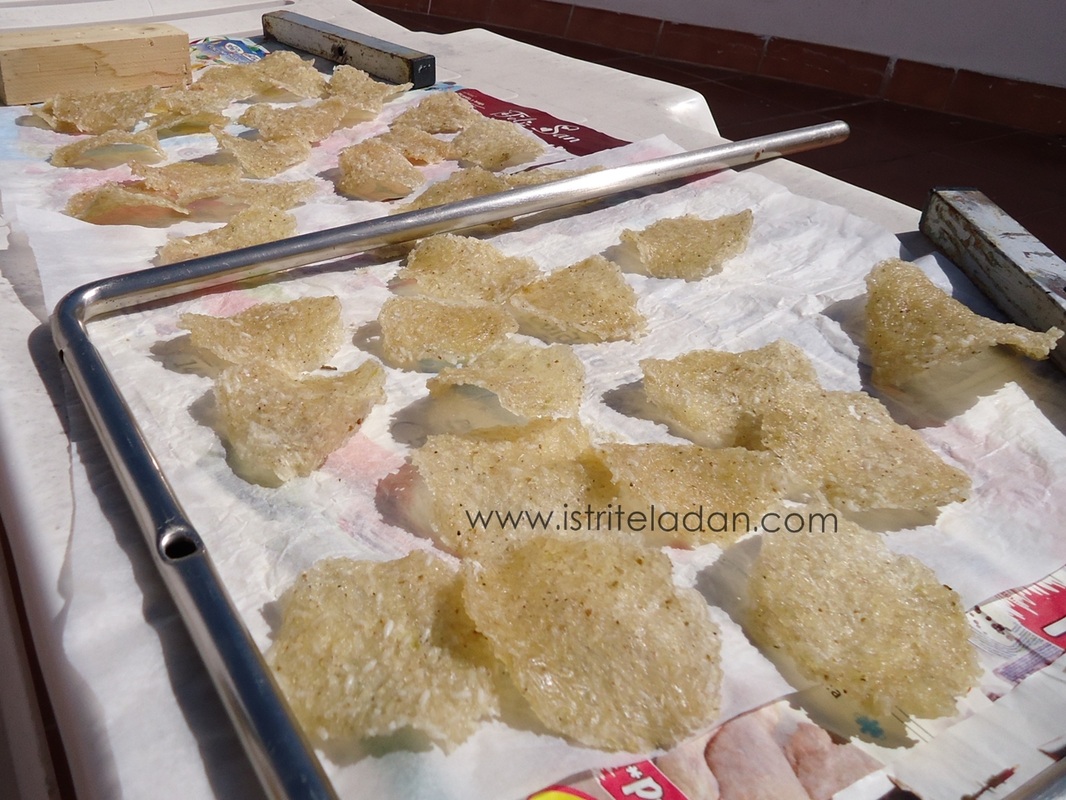
siap digoreng!!!

Homemade rengginang!!!!
Karena adonanku ga dikukus, pas jadi... kurang bertekstur kaya rengginang pada umumnya. Lebih ke kerupuk lah...
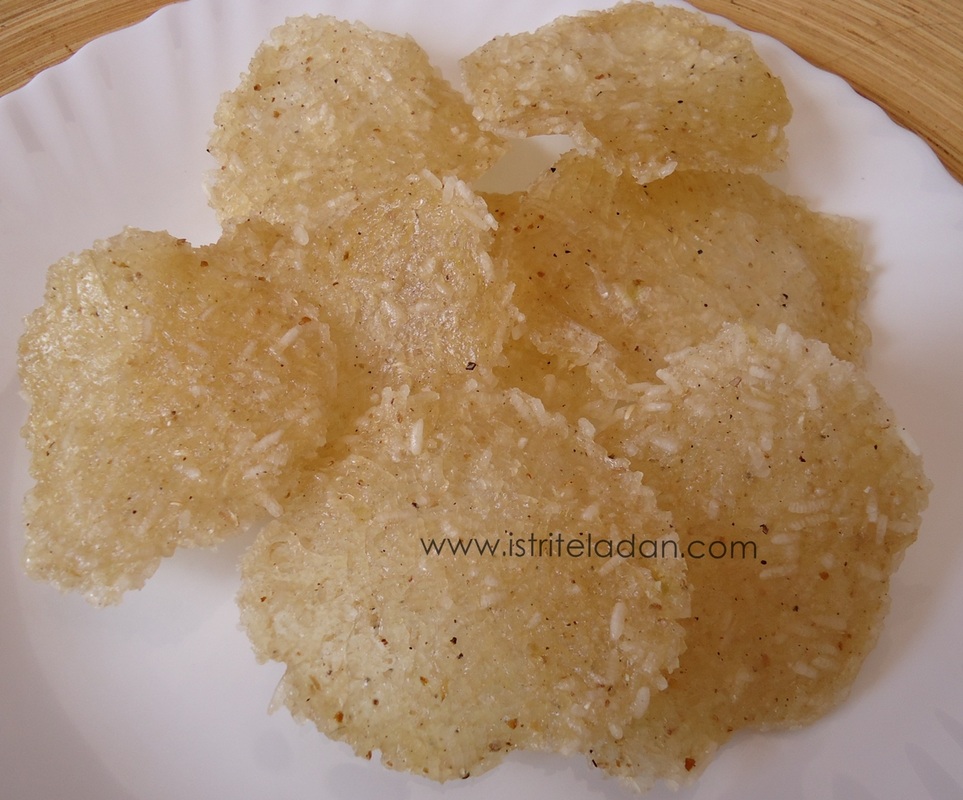
Mas Gun sukkkaaaaa tuh,... karna dia yg nge jemur, jadi jatahnya dia banyakan....hahahah
Aku personally sih hepi berat dengan hasilnya. Homemade rengginang ini Bebas MSG dan pengawet. So besok2 kalo mudik ke Indo ga usah repot2 bawa kerupuk di koper... bisa bawa yg lainnya gitcuuuuu ^^
Nothing really particular that day, went to the beach... took some snapshoot. Funny expression I had, should remember the way I look on my 30th years old.
Me, wearing my fav shades at the moment, wore my secretary dress, messy hair coz I stop using hair dryer, my 32 teeth smile... actually 27 teeth! red lippy while holding my camera case,... taken with my cybershoot camera.
Afternoon sun always blinded me ...
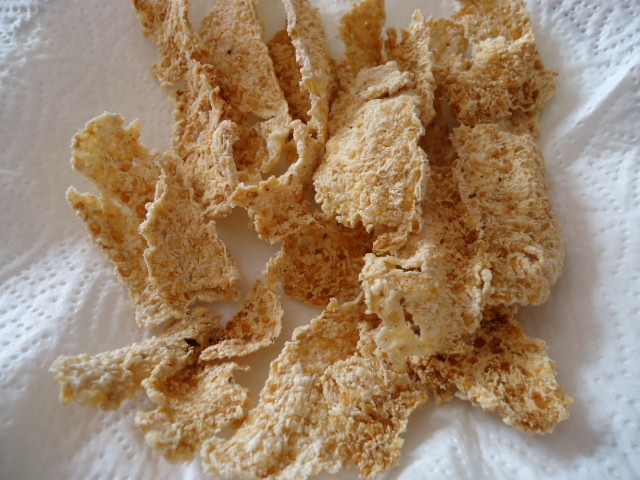
Resep kerupuk gendar/beras yang aku pake kurang jelas penjelasannya, punya ku adonannya kebanyakan air, jadinya lengket... sangat lengket ga bisa dibentuk ato dicetak, yang ada nempel nempel di tangan,....ah..nyebelin! Sebagian saking desperate, aku campurin pake tepung sampe bisa kalis bisa dibentuk... cuma bikin extra work, hasilnya juga ga bagus. Pas digoreng, bukannya jadi kerupuk..malah jadi keripik!! Beda tipis tapi berbeda! Akhirnya adonannya aku simpen di freezer, trus besoknya aku defrost sejam, trus aku potong tipis tipis, texture nya mirip es potong yg dijual zaman SD!, baru deh bisa aku jemur... Pokoknya kalo adonan kalian susah dibentuk atau lengket, JANGAN DICAMPUR TEPUNG TERIGU... tapi di freezer aja dulu.. Step by step nya after trial and error ...gini deh kira kira,... - Beras lembek dihancurkan pake terserah lah...yg penting hancur, jemek gitu lhooo,... aku ngancurinnya pake food processor, biar cepet.
- siapin bumbu, sesuai selera aja ga usah terlalu ngikutin resep lah.
- dicampur sama 8 sdm tapioka yg sudah dilarutkan sama sedikit air.
- dicetak atau di iris tipis.
- dikeringkan dibawah matahari, di dalam rumah juga bisa cuma keringnya berhari hari.
- goreng
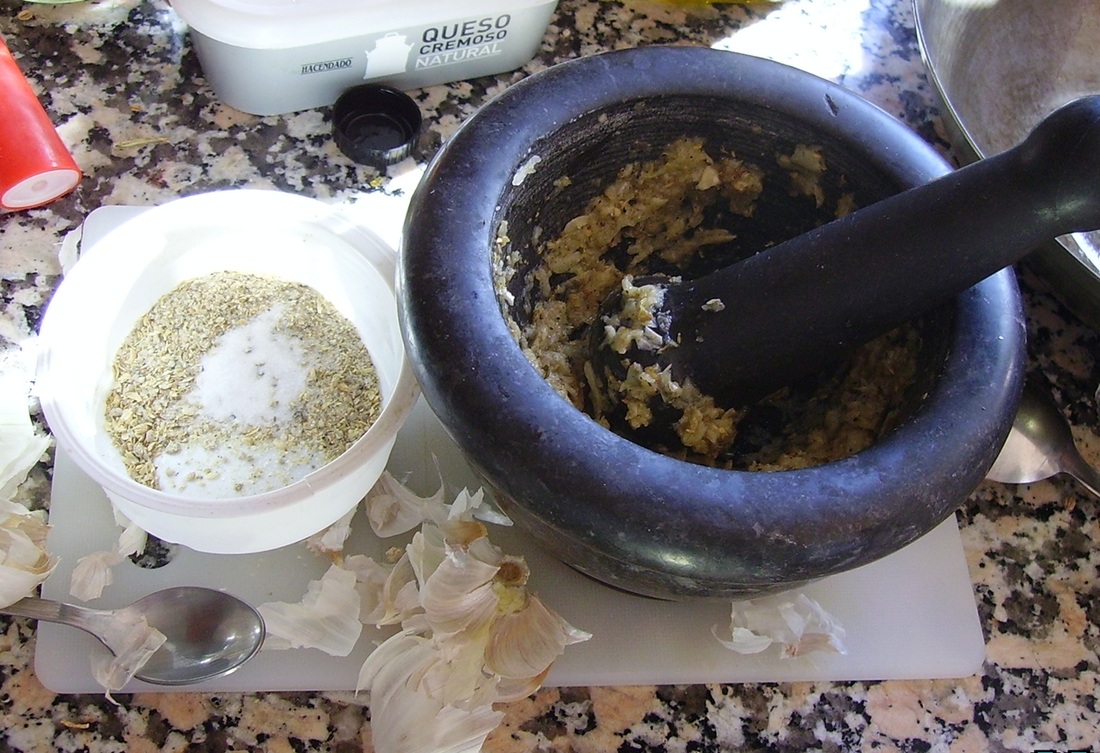
Siapin bumbu nya, yaitu: garam 1sdm, ketumbar 1sdm, merica 1sdt, baking powder 1/2 sdt, bawang putih 8 siung yg gede biar gurrihhhh..
Ketika nasi lembek uda siap, masukin bumbu diatas. Punyaku ini terlalu jadi bubur,,karena kbnyakan air...JANGAN DITIRU!!
Ini food processor punyaku, kalo ga punya... nasi dilembekkan pake ulekan aja...yg penting hancur gitu.
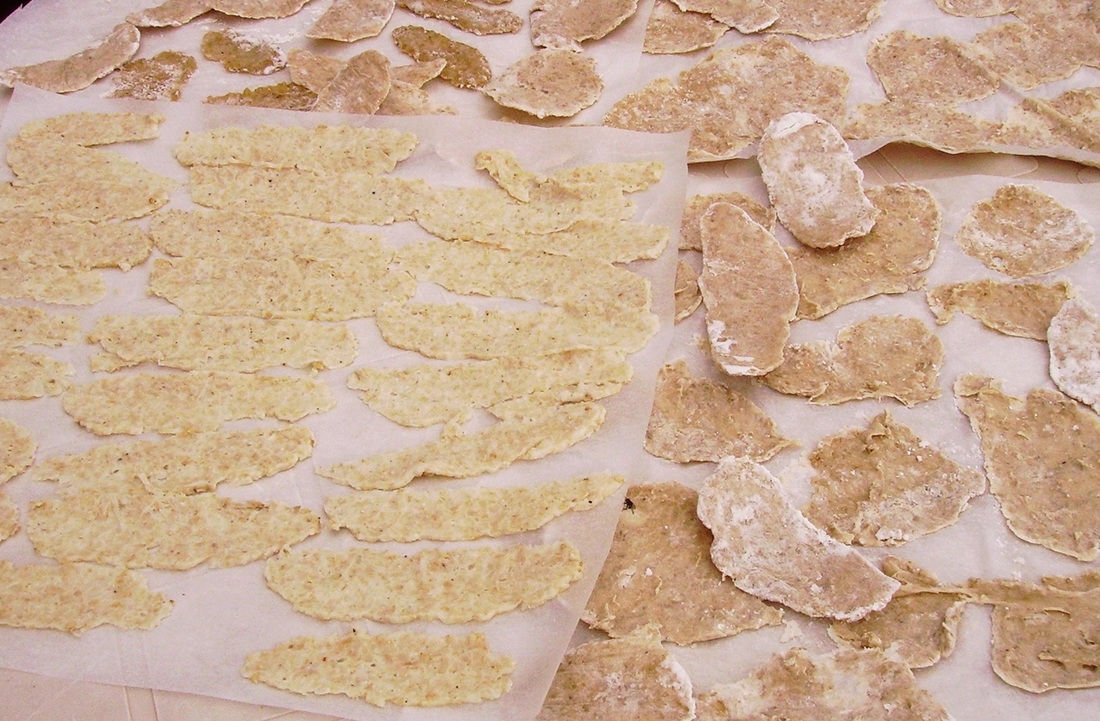
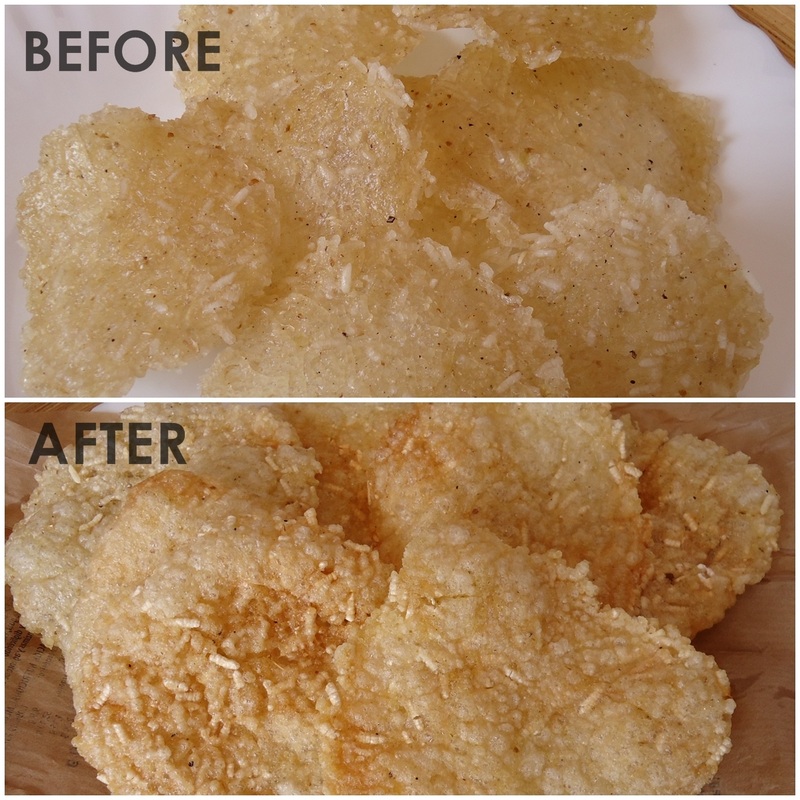
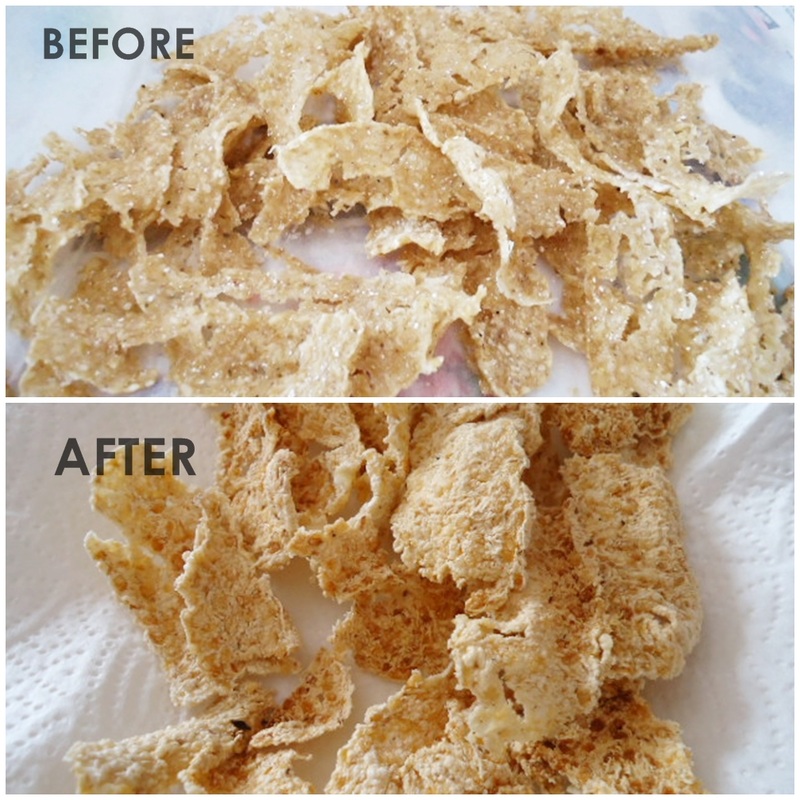
Tahap penjemuran!!! yg sebelah kiri sukses jadi kerupuk crunchy--- yg sebelah kanan jadi keripik!
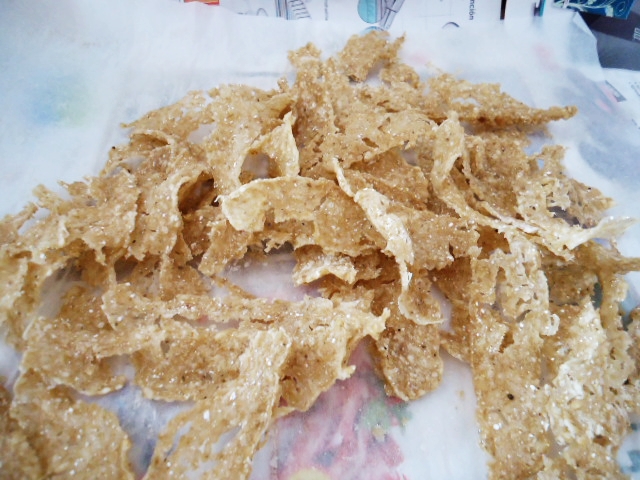
Kerupuk ku uda kering,..kering banget! siap digoreng.
Yah, namanya juga baru tahap percobaan... apalagi yg bikin kaya aku,... jarang ke dapur kalo ga laper...
Tapi kalo buatku ini kerupuk hasilnya not bad lho..., mas Gun aja sukaaaaa..padahal dia ga suka kerupuk, apalagi kerupuk udang,..bau kata dia. Rasa kerupuk homemade ini gurih beras dan kriuk kriuk ....yesss??!!...ga mau beli kerupuk lagi di toko cina, habis mengandung pengawet, MSG dan bahan kimia lainnya yg bikin kanker.
Me and Kristina review one Burdastyle pattern. Hers is glamourous, I know... while mine is office dress,...boring! ;)... I had so much fun sewing one project, knowing someone also doing the same. Give you courage and motivation and positive vibes. Thanks Kristina, we should do it again later ^^.
|


 RSS Feed