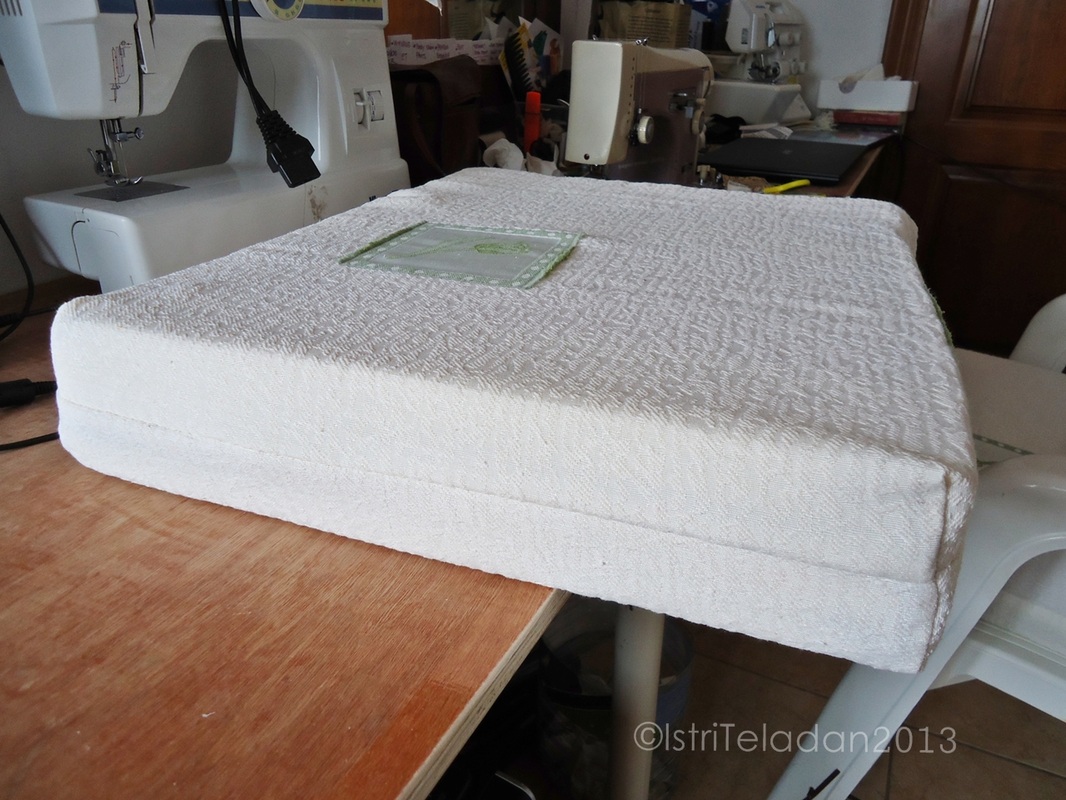
I found this sponge for cushion on the side of the street... People throw away good things these days. I am in the need of new cushion for our plasticky chair... so I'd say it's perfect.
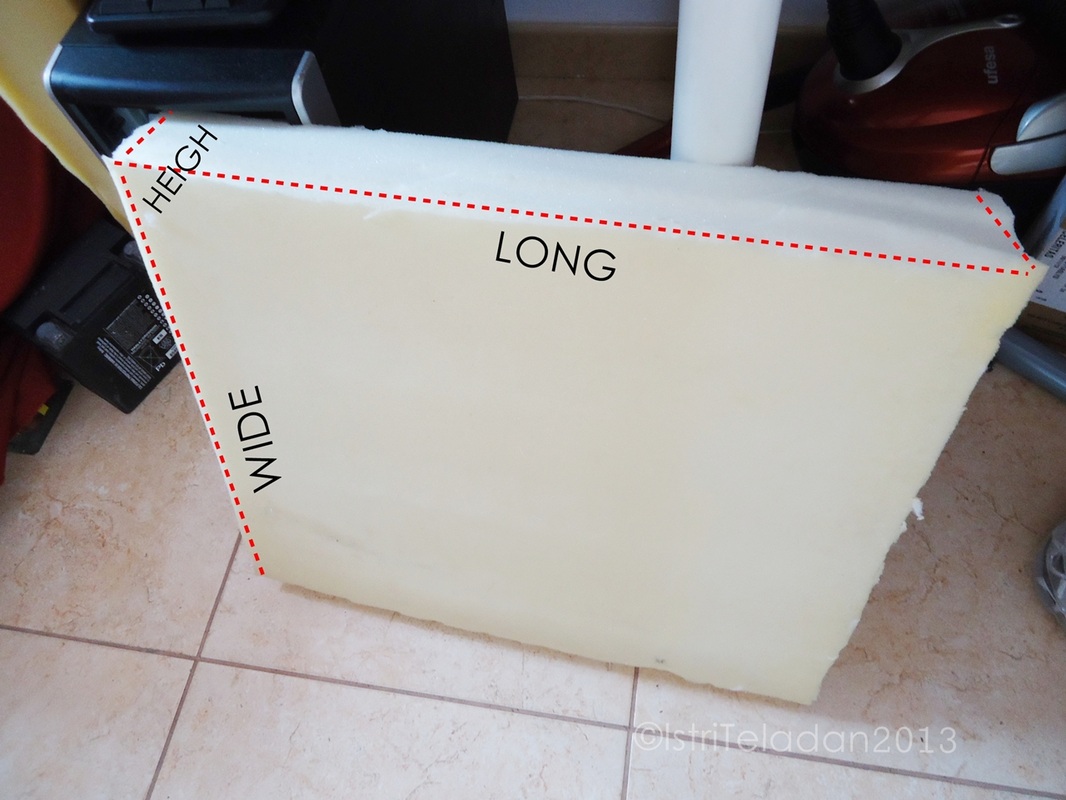
This is the tricky part. The measurement. Remember, better measure big than too small. Start to measure like photo below :
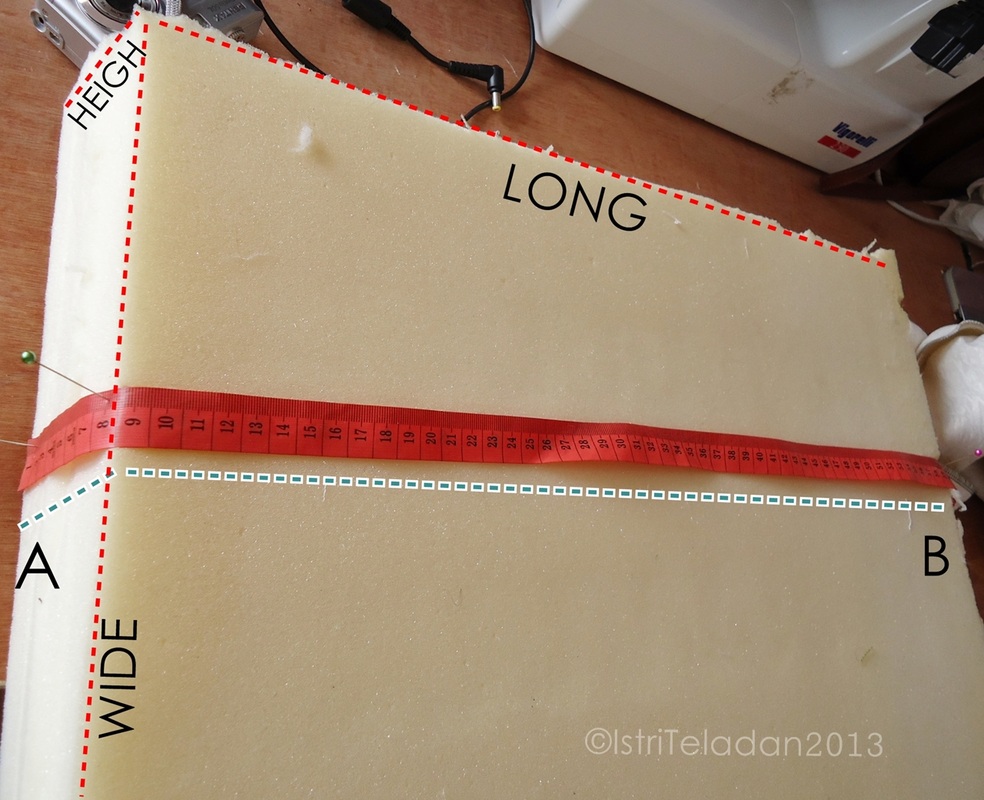
Measure from point A to B. Add 3cm seam allowance, that would be the measurement of the LONG side. Do the same for the WIDE side.
Now you got the measurement of LONG side and WIDE side, seam allowance included. Cut your fabric, based on your measurement. Sew all the way,... don't forget to leave one side open for the opening. At this point, try it ...on your cushion to check if it's fit nicely or need adjusment. Try it with wrong side out... that way it's easy to pin or mark the excess fabric, if that's the case.
After everything fit... you can double the stitch for reinforcement.
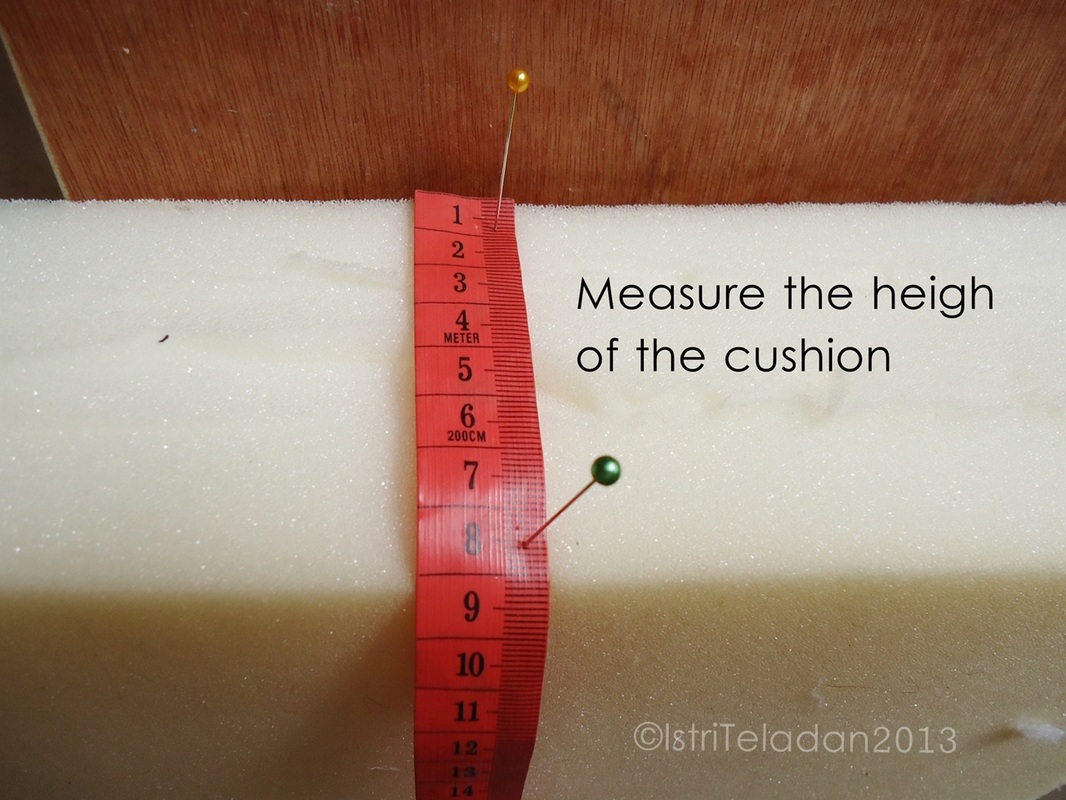
Now measure the HEIGH individually, in my case is 8cm.
Find both corner of your cushion cover. Folded like in the photo below...
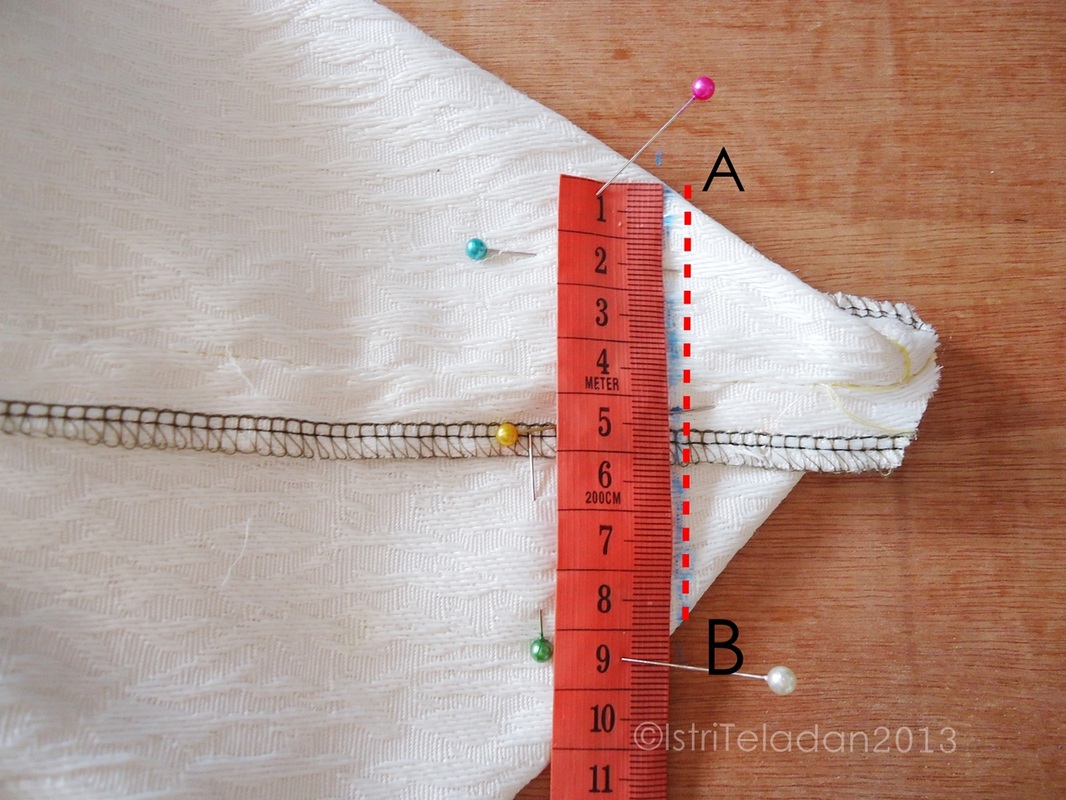
Mark 8 cm, and stitch there... from point A to B. Cut out the excess corner..
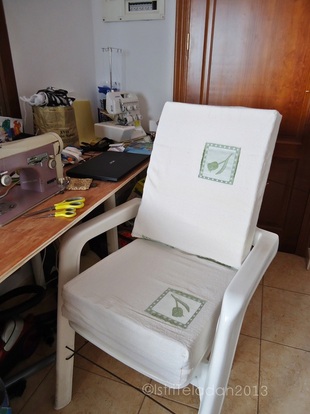
And .... you are finish!!
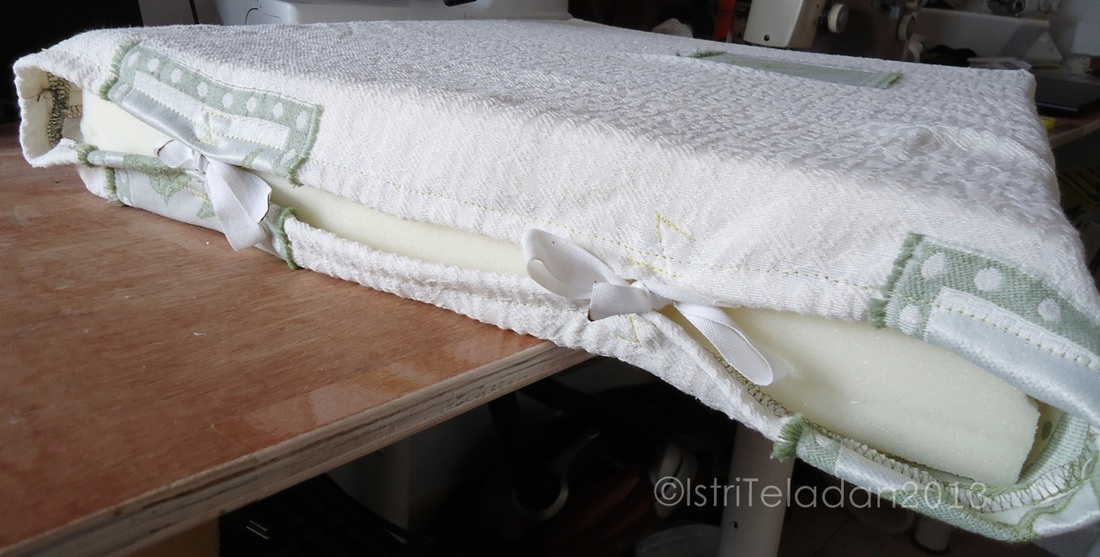
This is the opening of my cushion cover, closed with ribbon.
Fit nicely! Ready to sit on...
Congratulation,... you have just spicen up your old cushion. And when it gets dirty, easy remove the cover out and put it in the washing.
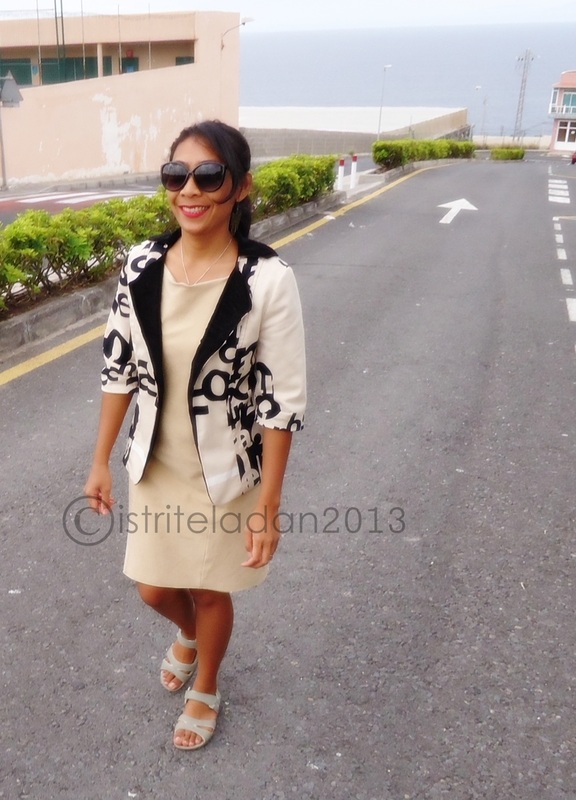
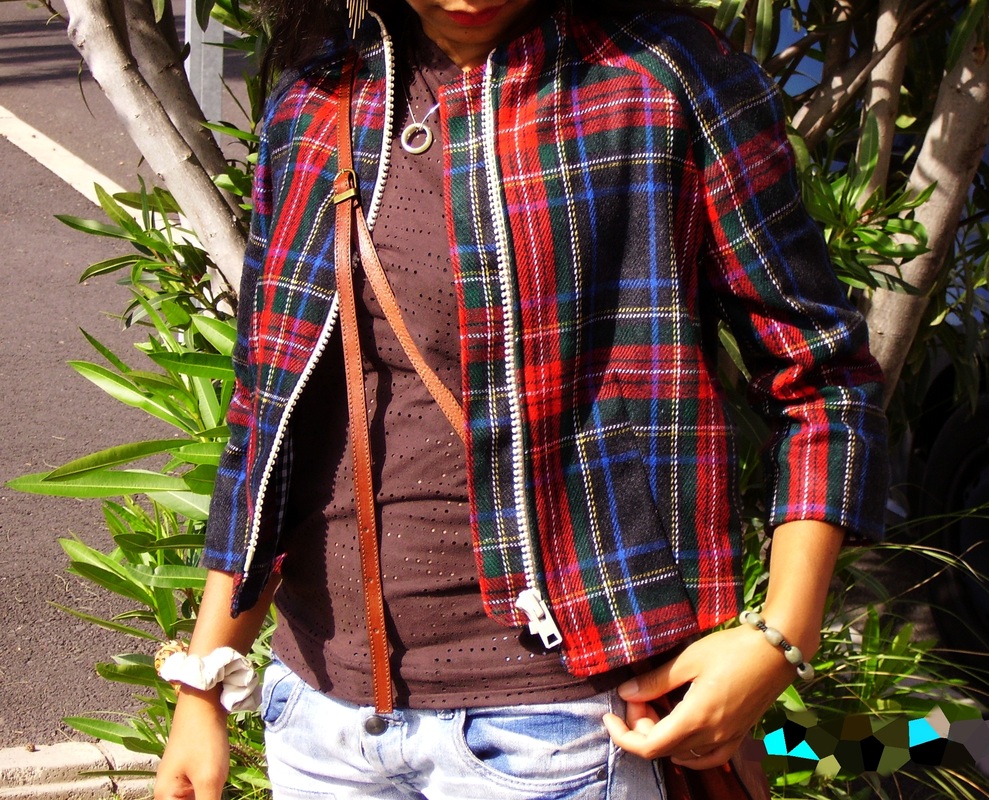
I made this blazer actually quite long time ago . That time, I thought such reversible blazer would do many tricks... oh well, I thought wrong! In the end, the best way to wear this blazer is by wearing it in a normal way. I shortened the sleeves, I replace the inner material with normal lining... and I leave it open like that without putting buttons until I'm in the mood to do it.While the whole outfit made such a nice combination... I made the dress also longggggg agoooooooooooooooo...
Buat yg expert di dapur, bikin rengginang itu seperti halnya ordinary administration, .. but for me it's a hell of a big deal until today ^^.
Proses pembuatannya ga pake susah, ga pake resep.. cukup beras ketan atau glutinous rice yg dijual di toko cina dan panas utk menjemur. In my case,... aku ada sinar matahari jadi aku jemur2 di teras rumah biar cepet kering gitcuuu...
Recipee shortcut, here's how I made Rengginang : - Beras ketan aku rendam semaleman, 6 jam juga bisa cuma aku males nungguin, so..malemnya direndem...paginya bisa diolah.
- Garlic, lot's of them biar gurriiihhhhhhhh
- Sebagian orang pake terasi ato udang ebi kering, I skip that... males bau!
- Salt and pepper, I think...
- Beras ketan yg telah direndam, dikukus kurleb 15", campurkan bumbu, kukus lagi 30", cetak dan jemur sampe kerrriiiiinnnnggggg.
- Guess what, aku ga punya kukusan, so aku pake bagno maria pelan2... beras ketan itu cepet matengnya kalo direndem dulu...
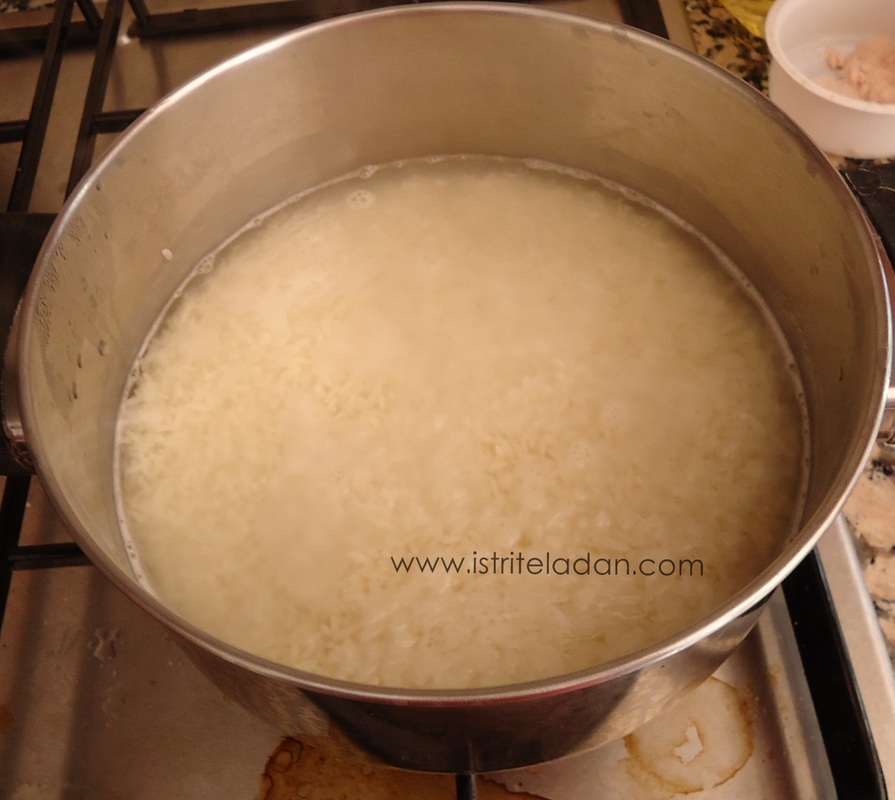
Lihat,.. lihat...beras ketan ku rendemmm
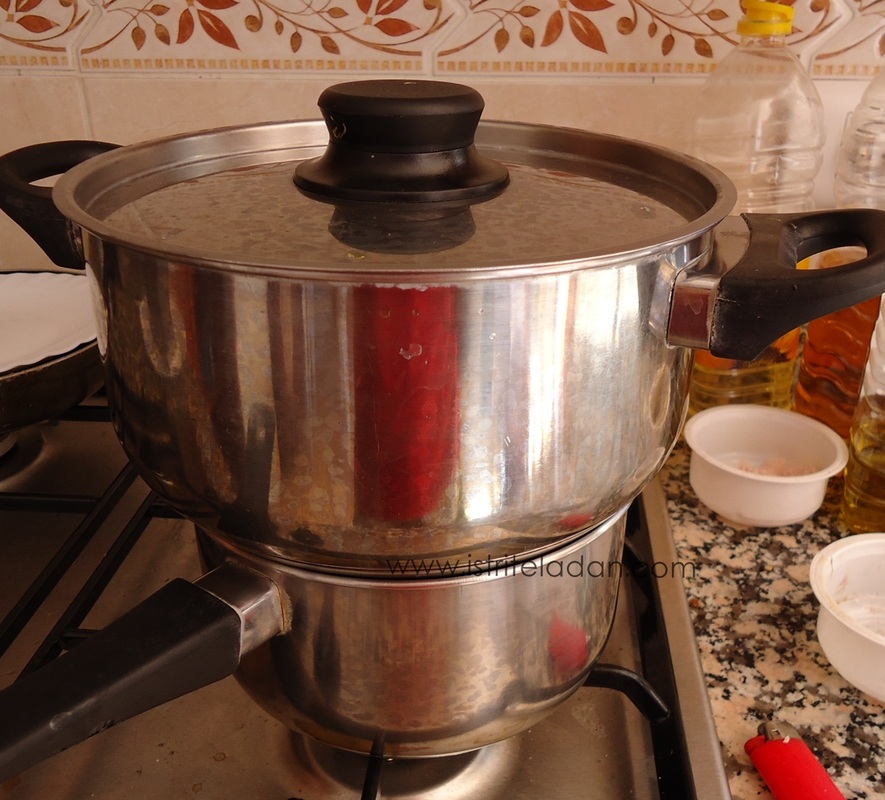
seimbang khan bagno maria ku,... yg besar diatas, yg kecil dibawah.....hehehe
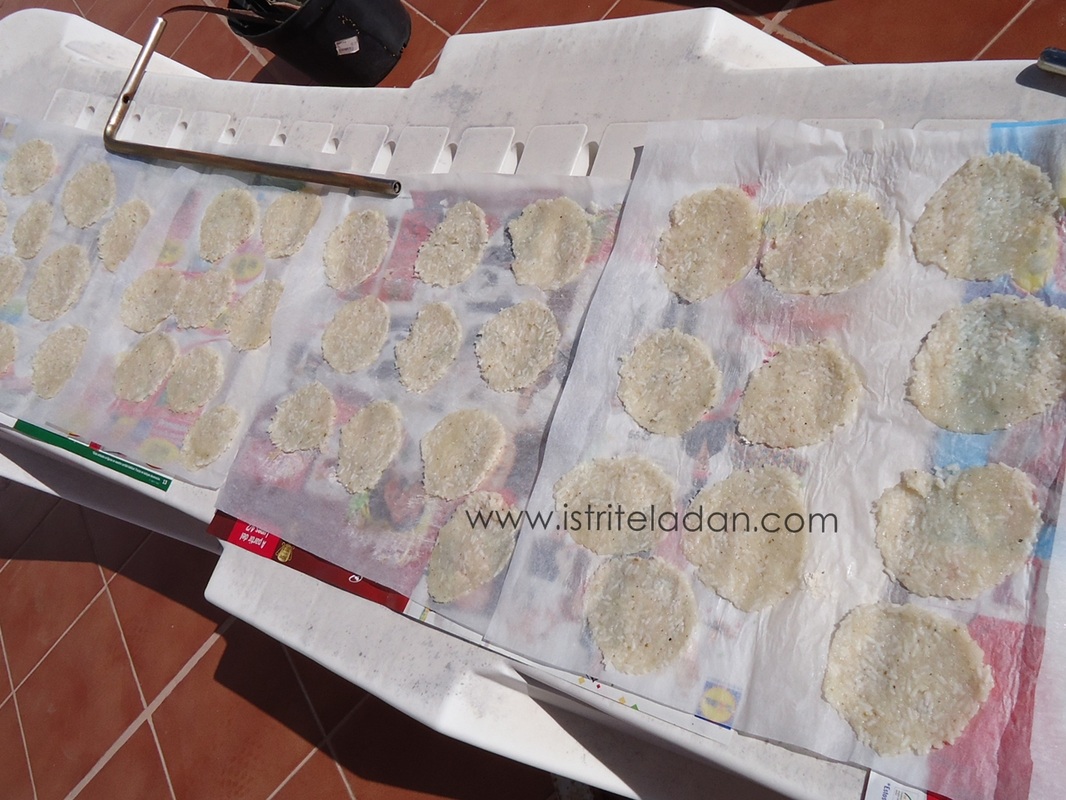
ini proses penjemuran, tanggung jawabnya Mas Gun,,,, ga pake cetakan, cuma ku penyet penyet... langsung jemurrrr
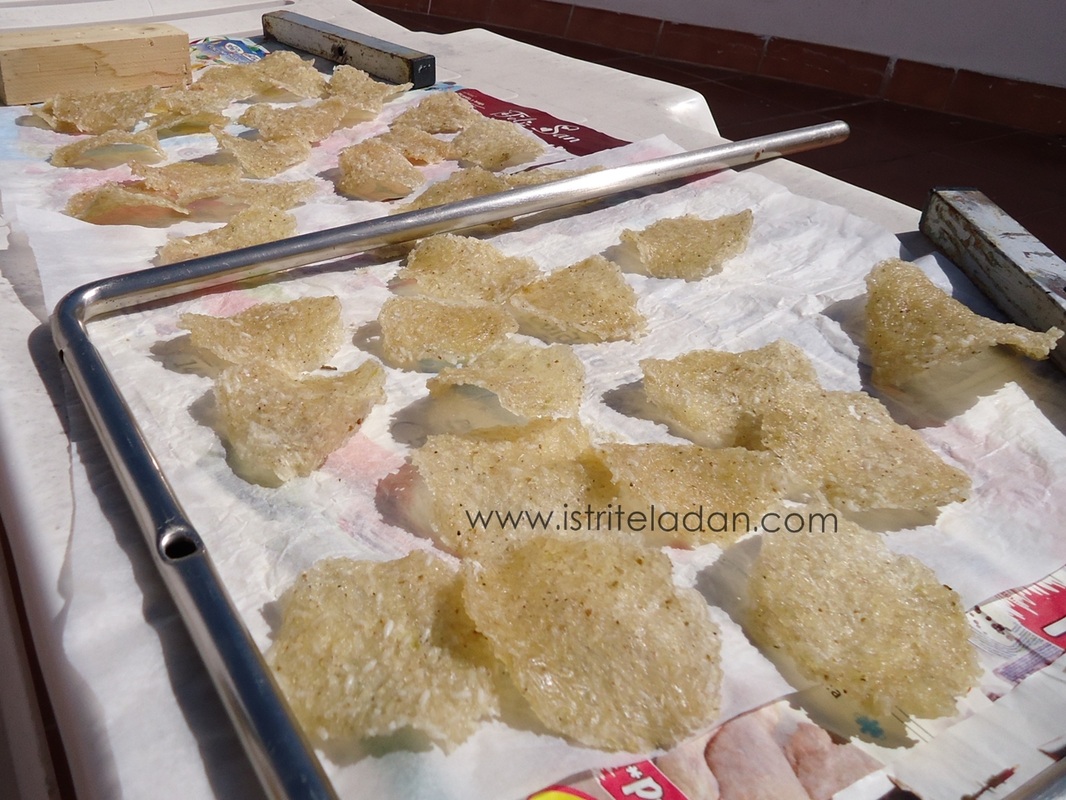
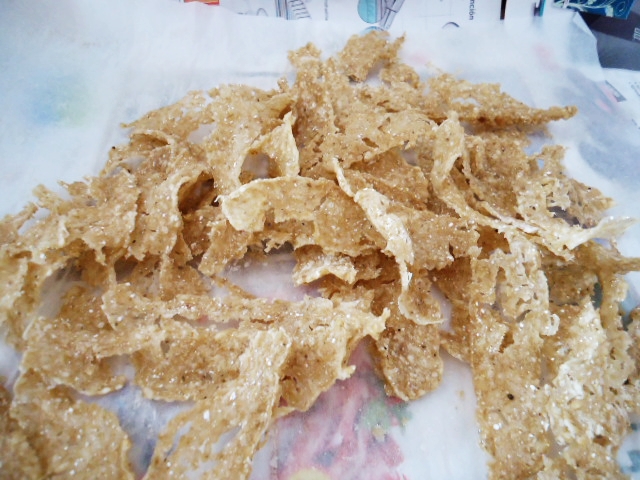
hari ke 2 penjemuran di bawah matahari, 90% kering
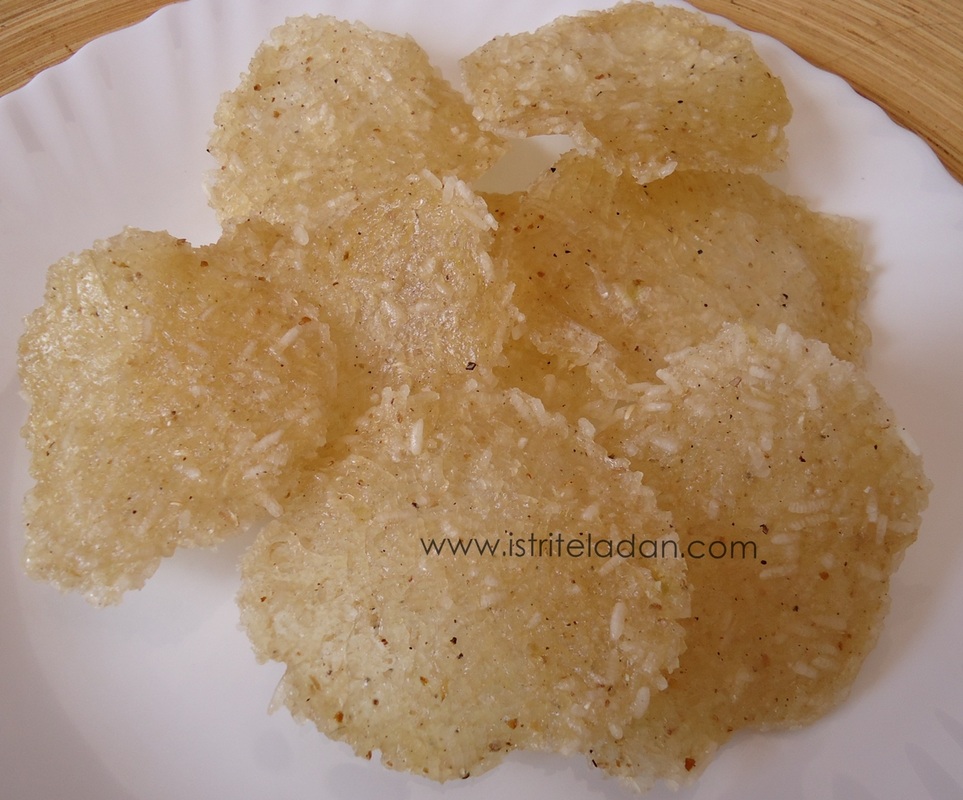
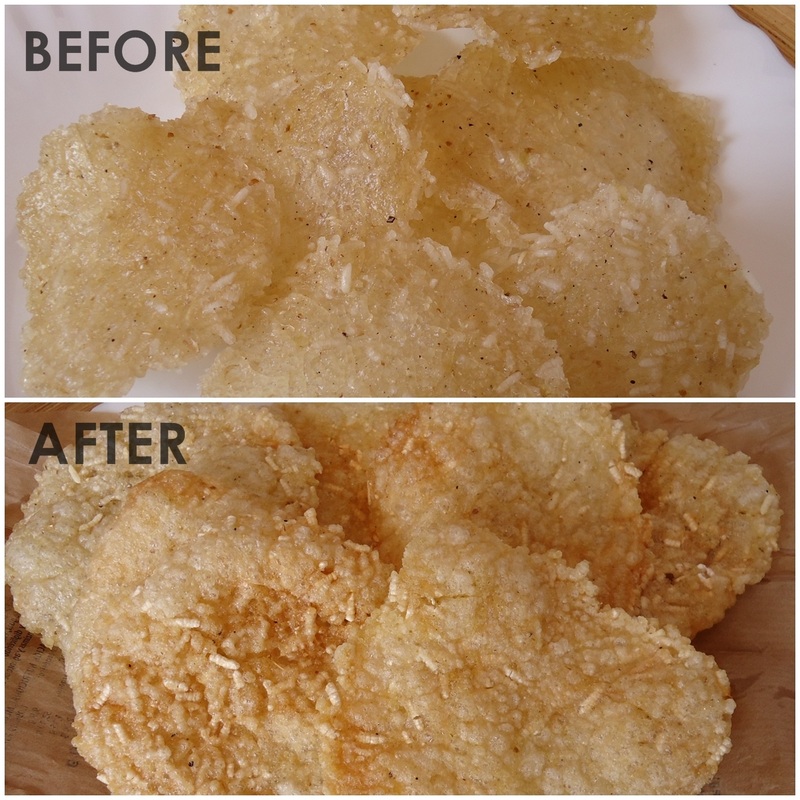
siap digoreng!!!

Homemade rengginang!!!!
Karena adonanku ga dikukus, pas jadi... kurang bertekstur kaya rengginang pada umumnya. Lebih ke kerupuk lah...
Mas Gun sukkkaaaaa tuh,... karna dia yg nge jemur, jadi jatahnya dia banyakan....hahahah
Aku personally sih hepi berat dengan hasilnya. Homemade rengginang ini Bebas MSG dan pengawet. So besok2 kalo mudik ke Indo ga usah repot2 bawa kerupuk di koper... bisa bawa yg lainnya gitcuuuuu ^^
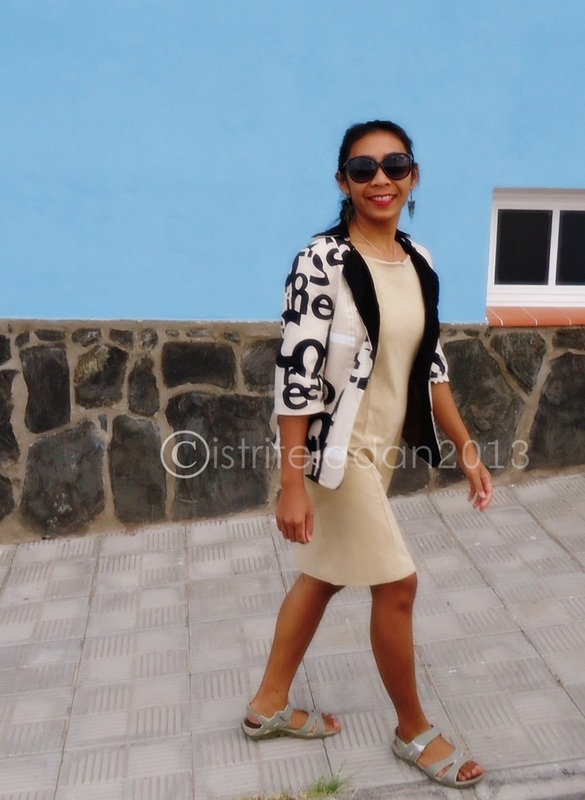
Nothing really particular that day, went to the beach... took some snapshoot. Funny expression I had, should remember the way I look on my 30th years old.
Me, wearing my fav shades at the moment, wore my secretary dress, messy hair coz I stop using hair dryer, my 32 teeth smile... actually 27 teeth! red lippy while holding my camera case,... taken with my cybershoot camera.
Afternoon sun always blinded me ...
Resep kerupuk gendar/beras yang aku pake kurang jelas penjelasannya, punya ku adonannya kebanyakan air, jadinya lengket... sangat lengket ga bisa dibentuk ato dicetak, yang ada nempel nempel di tangan,....ah..nyebelin! Sebagian saking desperate, aku campurin pake tepung sampe bisa kalis bisa dibentuk... cuma bikin extra work, hasilnya juga ga bagus. Pas digoreng, bukannya jadi kerupuk..malah jadi keripik!! Beda tipis tapi berbeda! Akhirnya adonannya aku simpen di freezer, trus besoknya aku defrost sejam, trus aku potong tipis tipis, texture nya mirip es potong yg dijual zaman SD!, baru deh bisa aku jemur... Pokoknya kalo adonan kalian susah dibentuk atau lengket, JANGAN DICAMPUR TEPUNG TERIGU... tapi di freezer aja dulu.. Step by step nya after trial and error ...gini deh kira kira,... - Beras lembek dihancurkan pake terserah lah...yg penting hancur, jemek gitu lhooo,... aku ngancurinnya pake food processor, biar cepet.
- siapin bumbu, sesuai selera aja ga usah terlalu ngikutin resep lah.
- dicampur sama 8 sdm tapioka yg sudah dilarutkan sama sedikit air.
- dicetak atau di iris tipis.
- dikeringkan dibawah matahari, di dalam rumah juga bisa cuma keringnya berhari hari.
- goreng
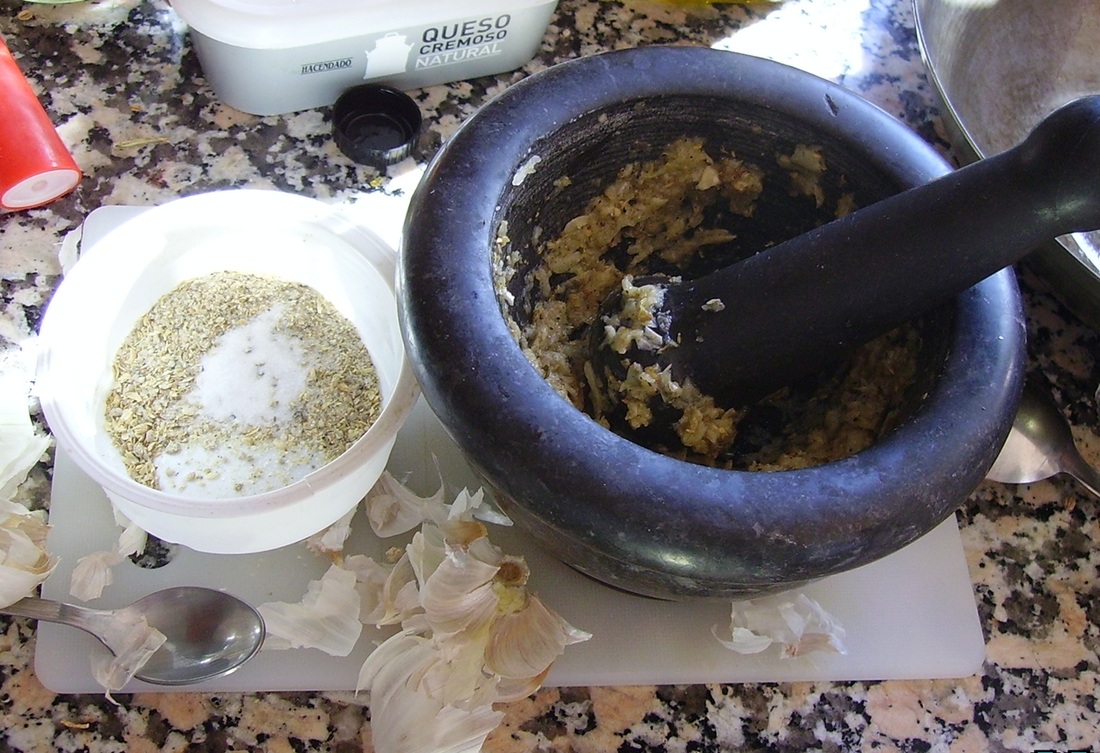
Siapin bumbu nya, yaitu: garam 1sdm, ketumbar 1sdm, merica 1sdt, baking powder 1/2 sdt, bawang putih 8 siung yg gede biar gurrihhhh..
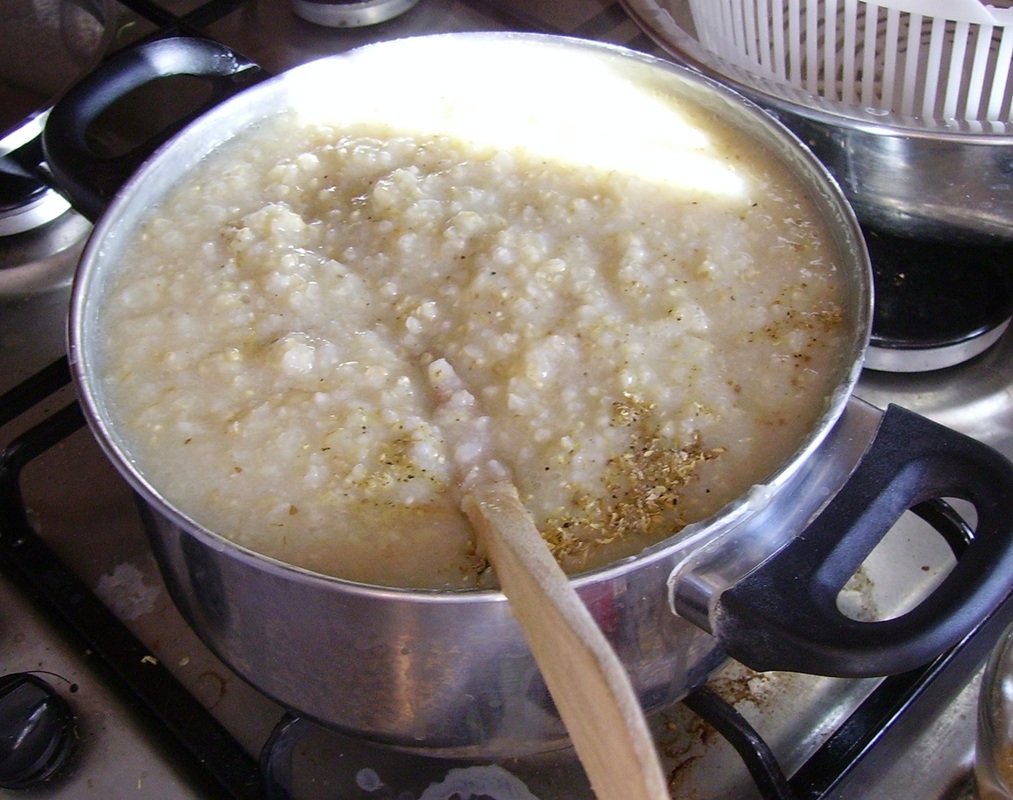
Ketika nasi lembek uda siap, masukin bumbu diatas. Punyaku ini terlalu jadi bubur,,karena kbnyakan air...JANGAN DITIRU!!
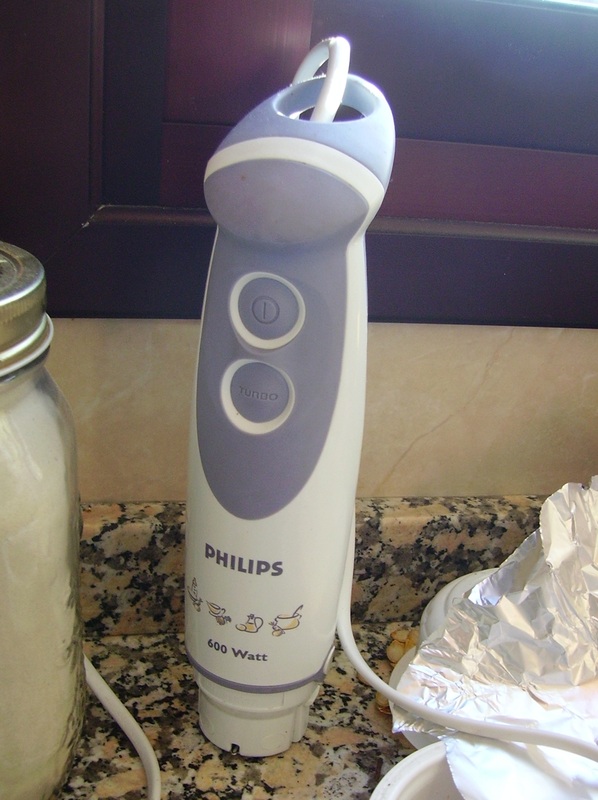
Ini food processor punyaku, kalo ga punya... nasi dilembekkan pake ulekan aja...yg penting hancur gitu.
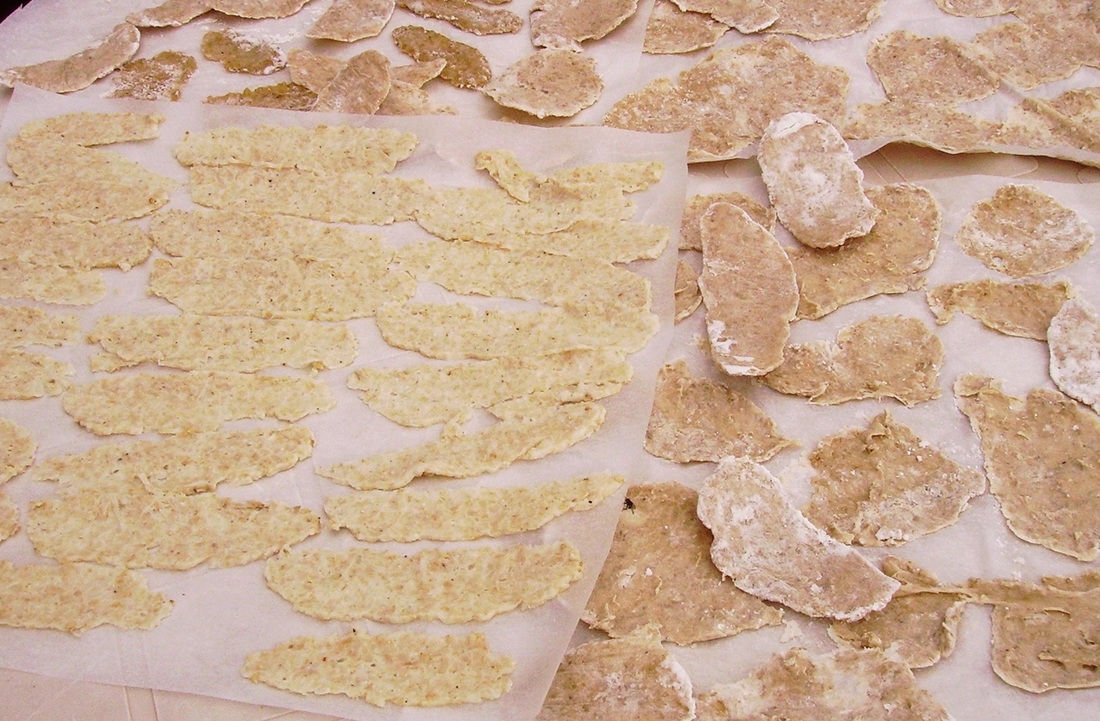
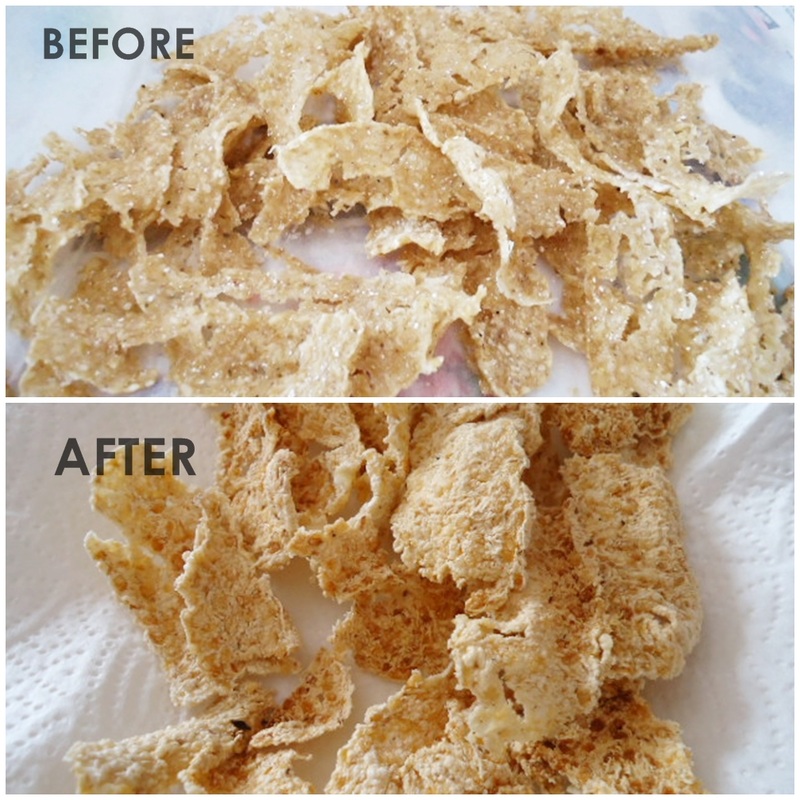
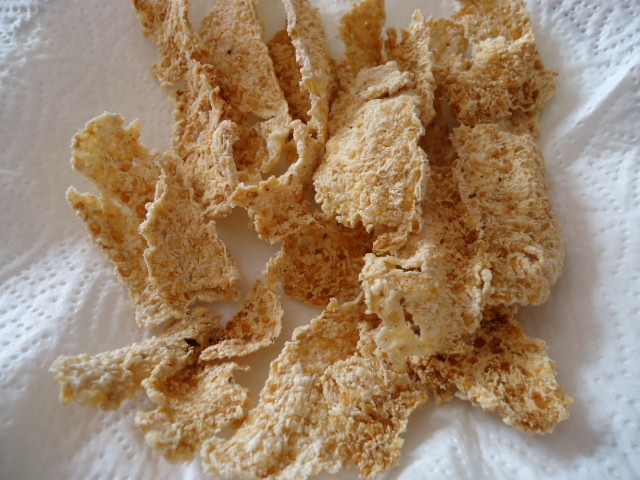
Tahap penjemuran!!! yg sebelah kiri sukses jadi kerupuk crunchy--- yg sebelah kanan jadi keripik!
Kerupuk ku uda kering,..kering banget! siap digoreng.
Yah, namanya juga baru tahap percobaan... apalagi yg bikin kaya aku,... jarang ke dapur kalo ga laper...
Tapi kalo buatku ini kerupuk hasilnya not bad lho..., mas Gun aja sukaaaaa..padahal dia ga suka kerupuk, apalagi kerupuk udang,..bau kata dia. Rasa kerupuk homemade ini gurih beras dan kriuk kriuk ....yesss??!!...ga mau beli kerupuk lagi di toko cina, habis mengandung pengawet, MSG dan bahan kimia lainnya yg bikin kanker.
Me and Kristina review one Burdastyle pattern. Hers is glamourous, I know... while mine is office dress,...boring! ;)... I had so much fun sewing one project, knowing someone also doing the same. Give you courage and motivation and positive vibes. Thanks Kristina, we should do it again later ^^.
Not so everyday dress, actually looks like Ms. Anastasia Steel going to the office dress!!!
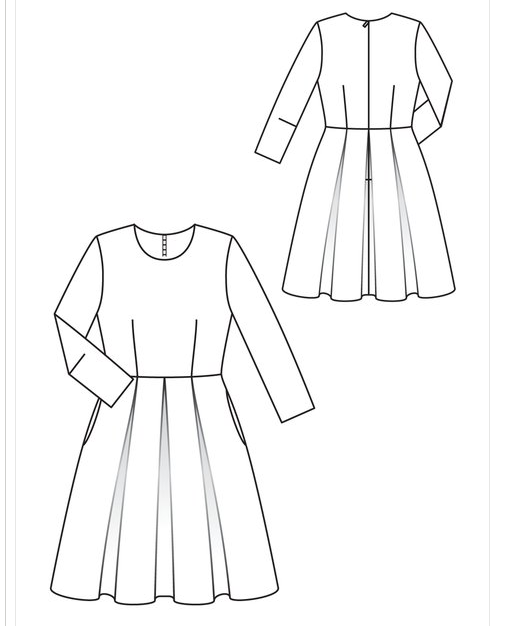
 My Christmas dress |  Kristina's Christmas dress | I coincidentally made the Burdastyle dress, based on the same pattern as Kristina's. So after that, we also had the same idea on reviewing one dress pattern,... still from BS. Meaning : we will be making the BS dress with our own personal touch, then upload it on BS on the same date, which's on the 31 of january 2013.
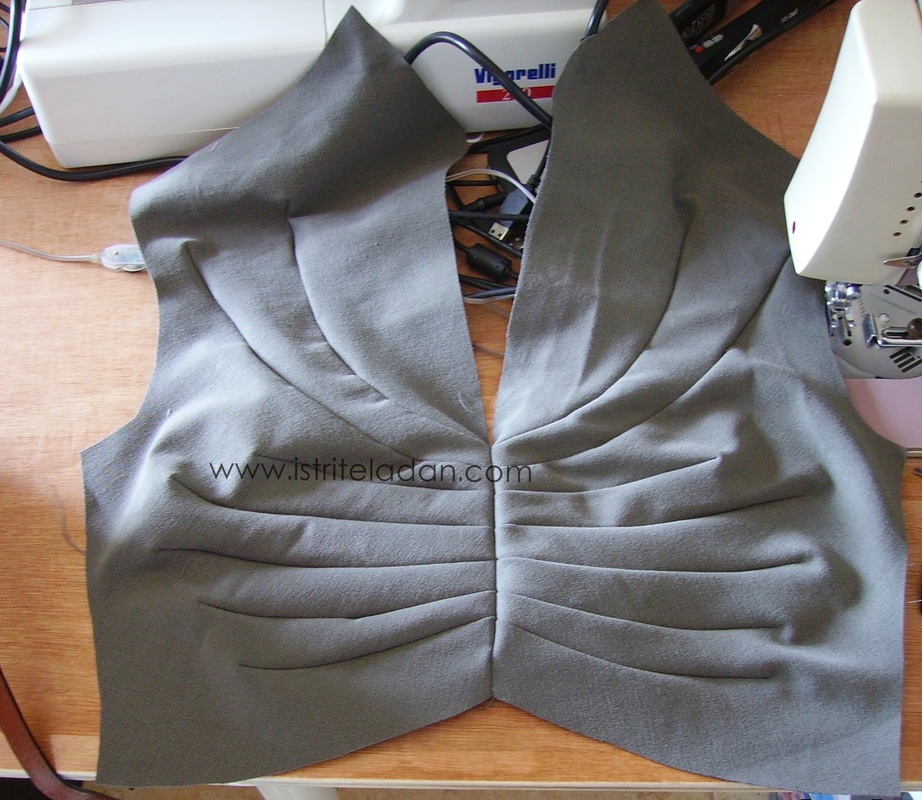 I did the pleats, more or less but precise..hahahah... as I don't want to go crazy doing those parts alone. I've been eyeing this pattern for some time. I wanted to make the dress on black linen material...something formal. But when I read the instructions, its say work with stretch material only. And I don't have any of black stretchy fabric. So I was a bit annoyed with the choice of pattern. On the other hand,I do really want to review this pattern.
I don't plan to look -oh, you think ur diva- or something with the dark shades, but honestly the afternoon sun blinded me...
I came across this sober green out from my stash. It's cotton blend and elastane! Looking at the colour, I decided to make an-everyday-dress instead of once-in-a-while dress,.. ^^,... but then, where do you think ur going dress up like that??!!!
I like it with the belt, my husband prefer without. How bout you?
Now, I'm going to write about the technical issues with this pattern.- I'm not sure I'm going to make another dress with this pattern, the chest panel is surely time consuming task.
- The fitting was nearly perfect. I trace the smallest size, no altering in my case, oh... that's rare..
- Did I say already about the horror pleats??!! Please straight to Melissa's blog, she's explain well... thanks Melissa, I didn't bother with BS Instructions, I read your blog before I cut the fabric. I have my pleats sewn closed.
- My green fabric barely make it for the sleeves. I cut the sleeves from different material, I'm so cheap ;p... I almost make it sleeveless, thank Goodness I keep them intact.
- I shortened the length of the dress and draw the side seam skirt slightly wider.
- Ah,... yes the neckline! I don't understand why mine is higher though... I attach a small little hooks on the opening, otherwise the collar doesn't want to stand still.
Oh well,... I think I like the dress... just wonder where I can go to...?!
Thanks for reading ^^
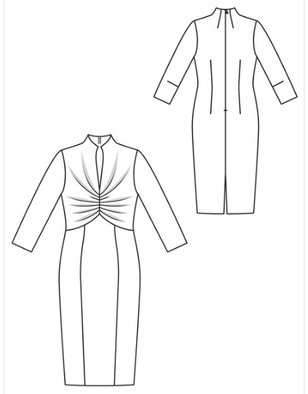
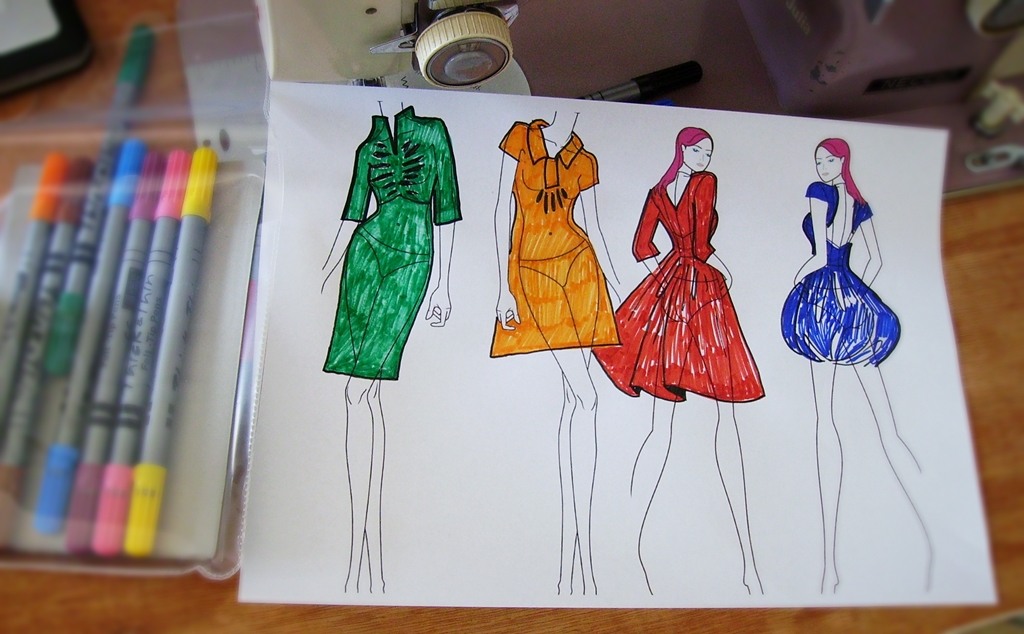
I found this website where you can print out croquis template to help you to design clothes, ... you know,.. so you have a view about how the dress will look like before cutting the fabric..... it help, in my case.. Check what I did already today with the template,... so much practical than to draw the female body yourself from scratch.I cleaned and oiled my sewing machine today, so no sewing activity until tomorrow I guess,... coz I'd like to let the oil properly lubricating every necessary parts. Check this HOW TO OIL SEWING MACHINE for reference.
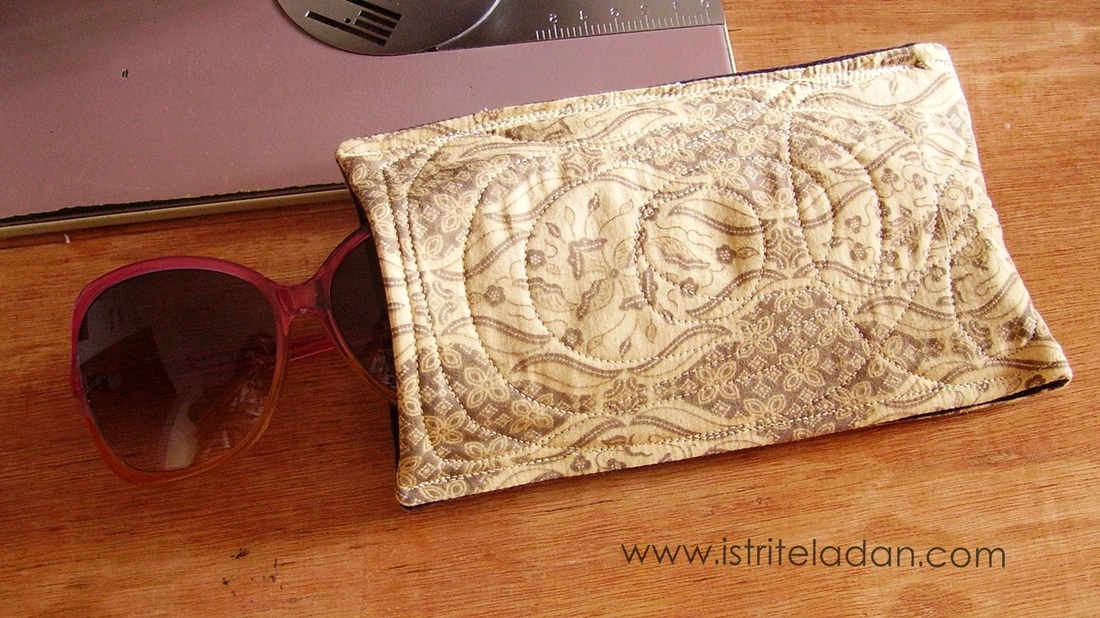
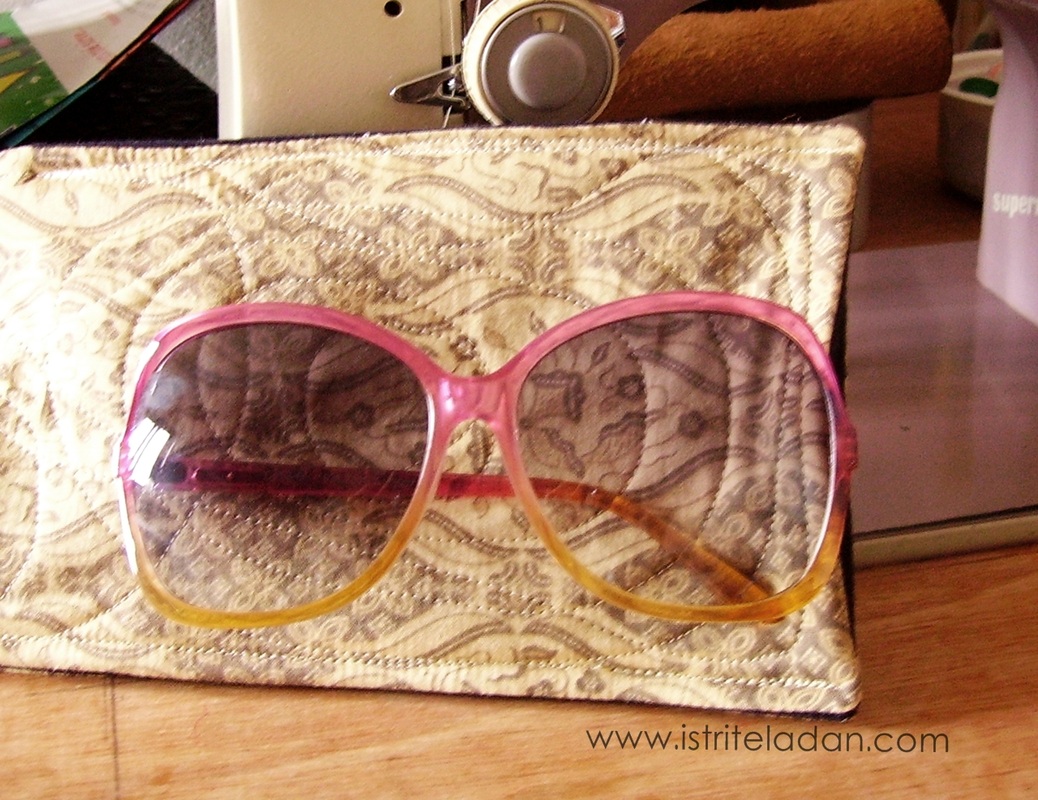
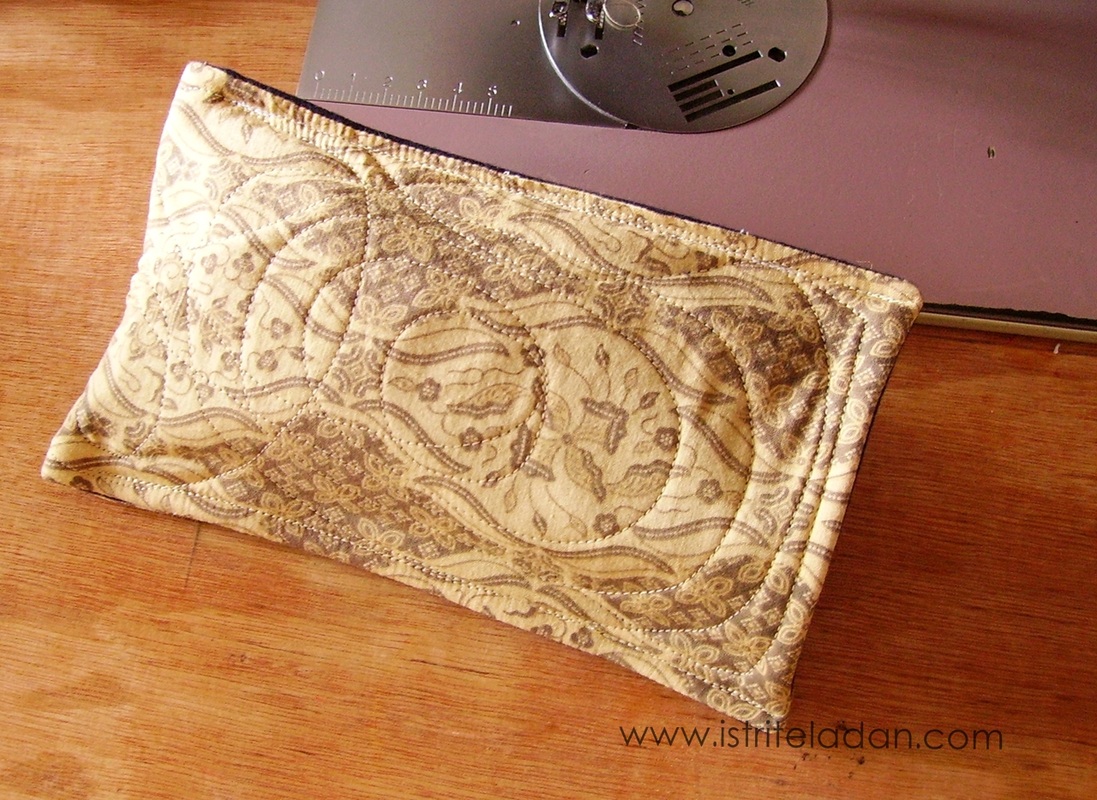
I never leave the house without sunglasses inside my bag. Not like I want to look like a diva or to look cool,... not such thing! But it's bcoz my eyes is very sensitive to the light,... so much...it hurts! The problem is, I don't like that bulky sunglasses hard-case from the shop... in the end I just tossed my glasses inside my bag everytime, without its protection... so my glasses end up being scratches all over it lens. Not cool at all,...
I just bought this diva sunglasses with 70% discount! That's why I don't want to scratch it, otherwise it will look worn out. Beside I wouldn't be able to buy it again for full price.
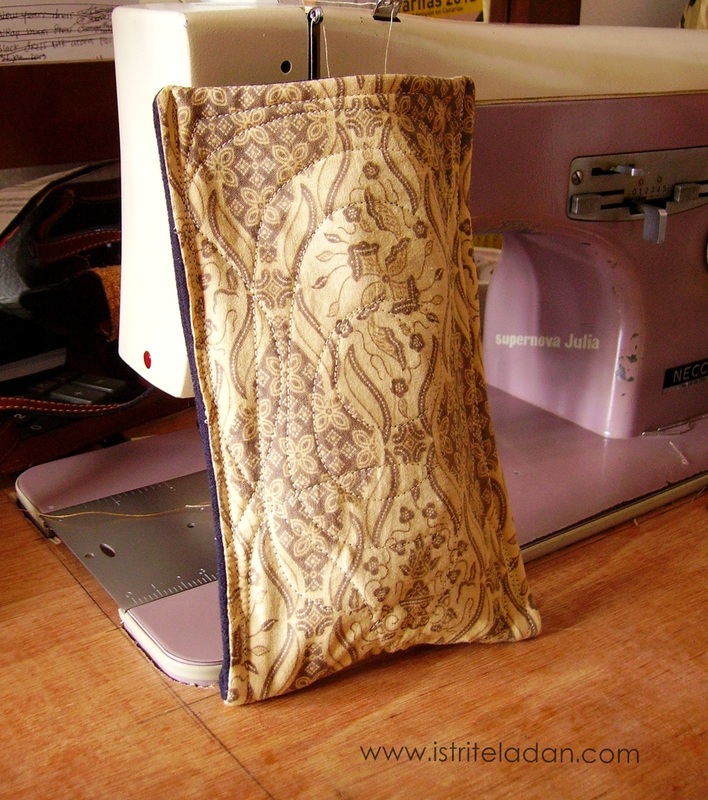
Simple case like this is supeeeerrrrrrrrrrr easy to make. You just cut rectangular, my size is 36cm x 14cm, includes 1 cm seam allowance. I think I will show you how to make this with pictures next time.... coz one picture tells a thousands words ^^
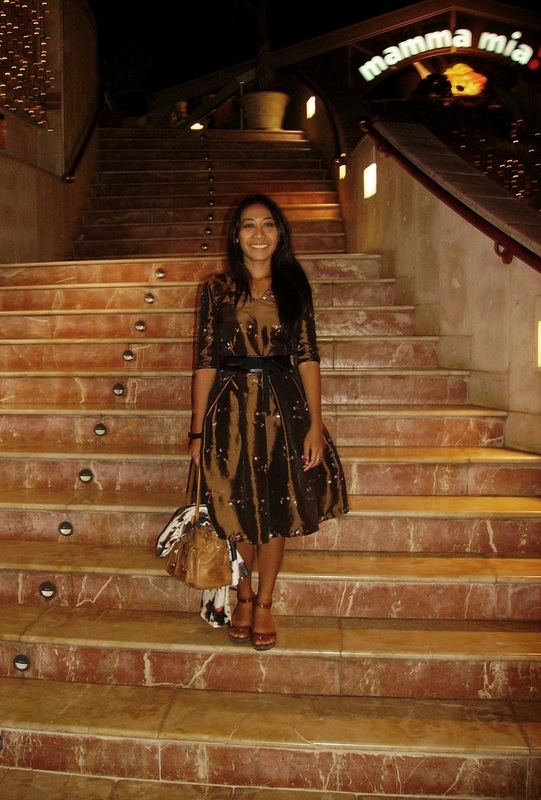
My friend, Ibu Mei Mei called the other day to informed that we were invited to a dinner with Mrs. Ambassador (Indonesia for Spain). I've never been to a formal dinner before with The diplomat. ... Help!!!!!!!!! I don't know how to dress!
I don't like to sew with synthetic material, but in this case... it's gonna be a night-time occasion, and I need the sheen where I can only obtain it from synthetic material,...or from real Silk,.. which too much out of reach,...am I right??!!
To be honest, I actually worried wearing synthetic dress bcoz it absorb the bad body odour easily... even though I had to rely my self confident only on my perfume that night,... hahaha We went to dine in Italian restaurant around Playa Americas. The restaurant is calm, cosy, classy, affordable and relax at the same time. I had a plate of Papardelle with carbonara sauce, which was superb. And my husband get the same type of pasta with Mushrooms sauce, which I like it more,.. more delicate and creamy taste... I had a fork from his plate...
We also had a bottle of House wine and strawberry with a scoop of chocolate ice cream for me, while he had a coffee.
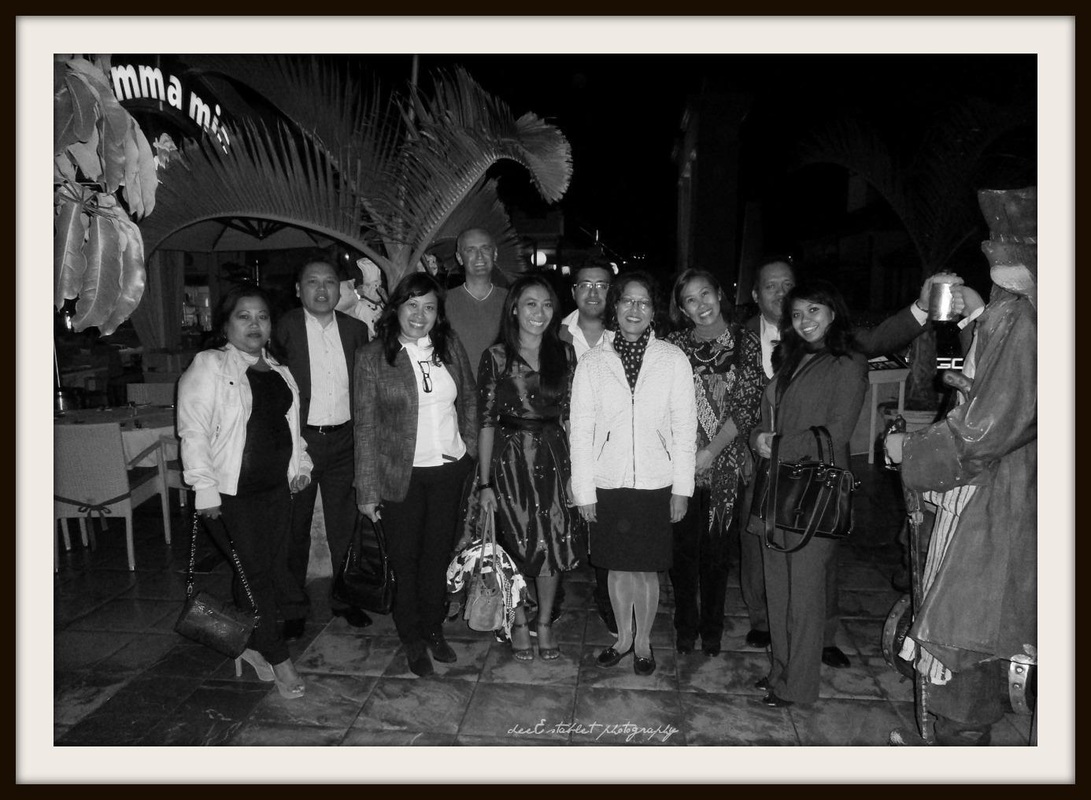
The dinner and the meeting went smoothly,... I proven to worry for nothing in the end.
This is the second time I review this pattern from BS magazine. The first time was HEREI didn't quite satisfied with the 1st dress. But this time is outstanding! I really like the dress,....so much... it hurt! I could tell I hit the jackpot on picking up the material for this dress. P.E.R.F.E.C.T!!I took liberty changing the collar, didn't actually turn up like what I imagine it, but didn't come out bad either. The sleeves are 3/4 length, but I fold little bit inside coz otherwise I couldn't move my arms. It's absolutely a non stretch synthetic material, remember...!!???? I actually wore homemade petticoat underneath. My husband prefered without, but I'm in the mood for the whole Cinderella dress. When I was in the making of this dress, I imagined Ms. Steele dress.... the one Mr. Grey like to unzip it in The fifty shades of Grey. I can't say it's an easy pattern to work on. Many times I almost give up on finishing the dress and switch into something easier pattern than this. But if you can choose the right material, then it surely such a head turning dress.
|


 RSS Feed